

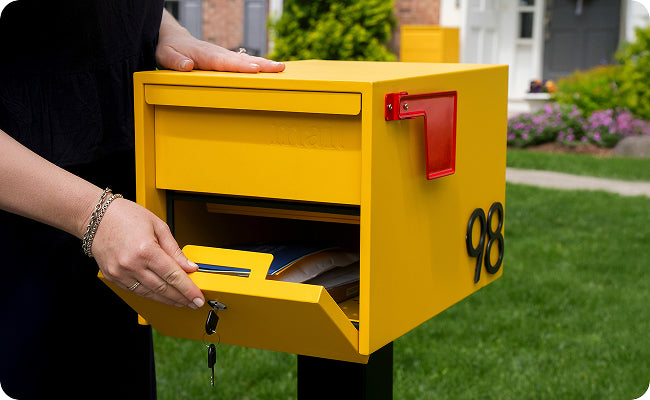
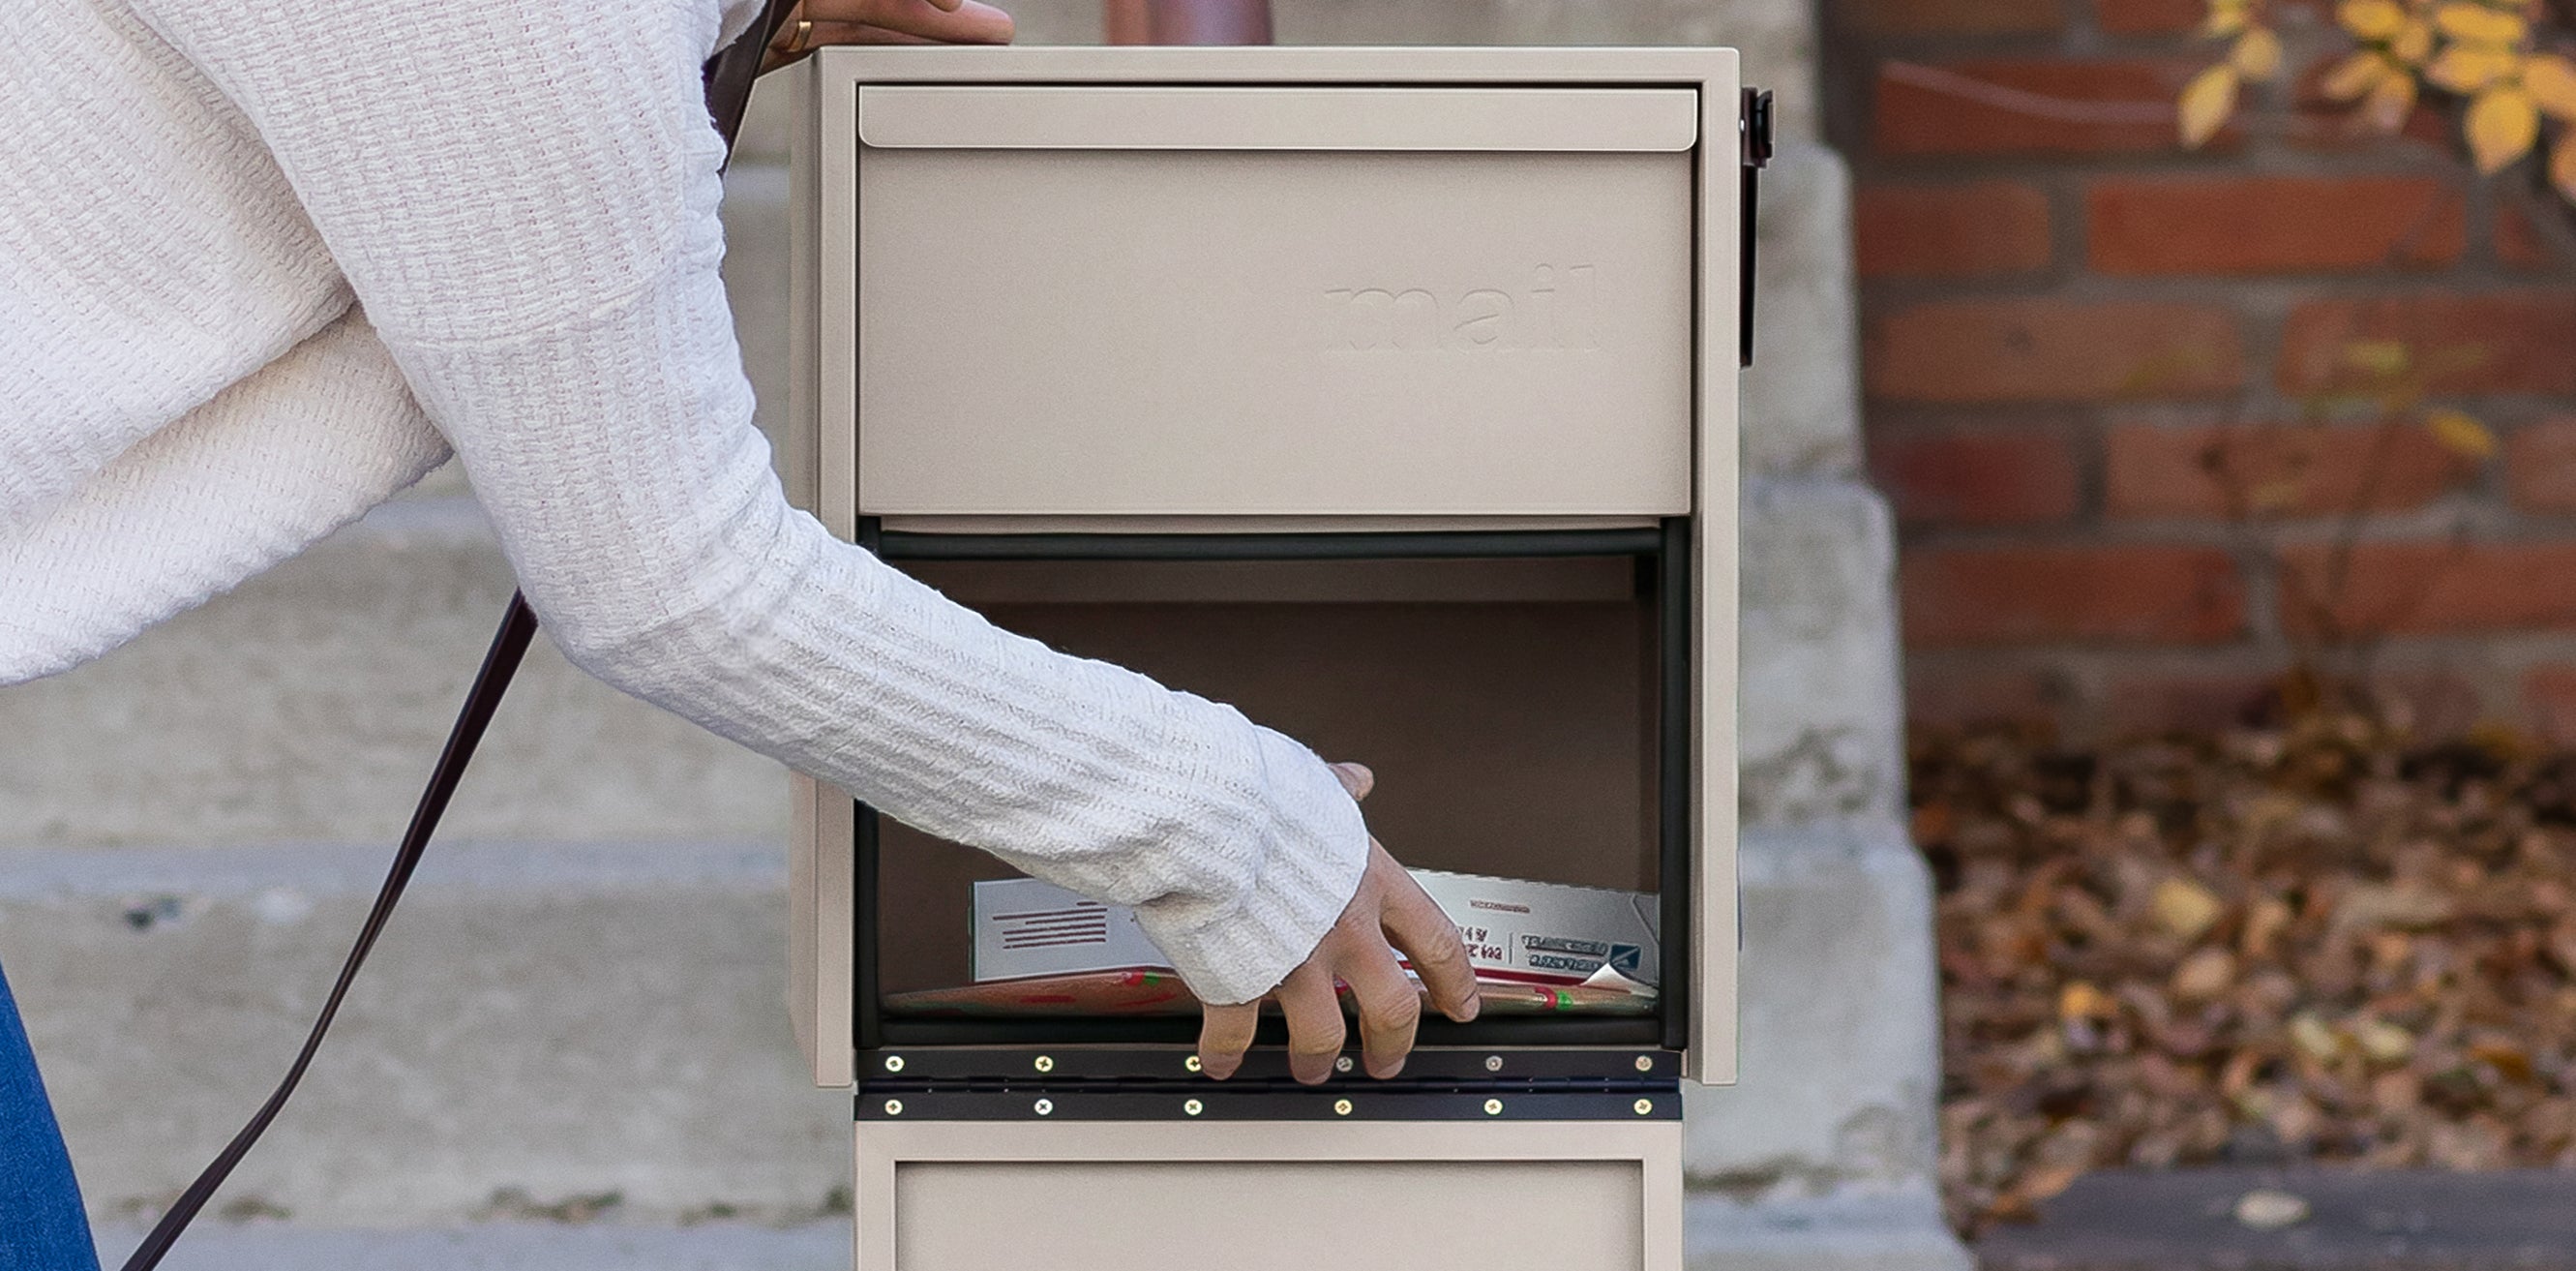

Secure. Stylish. Straightforward. That's the Adoorn way and installing your new Locking Post Mount Mailbox should feel just as simple. With keyed access and daily-delivery confidence, your new mailbox combines modern security with clean design.
This guide walks you through every step: from key registration and placement rules to mounting options and ongoing care. Pulled directly from the instructions included with your mailbox, expanded here with extra detail so nothing gets missed.
For printable instructions, download here.
🔑 Register Your Keys
Your Locking Post Mount Mailbox comes with two keys for the main compartment. These keys are for the mailbox owner only. Your mail carrier accesses only the top compartment (which does not lock) to deposit your mail and packages.
If you lose your keys, need to order a replacement, or would like an extra key for your house sitter, it's important for our team to have your unique key info on file. Register yours so we can locate the right key and keep your information securely stored.
To register your keys:
- Open the key registration portal.
- Use the form to register your keys to your account. This helps with future replacements as needed.
- If you need extra keys, click here to purchase.
(Keep this in mind: Your mail carrier will never lock or unlock the mailbox. They access the top compartment to deliver your mail. You control access to the lower, locked compartment for packages and secure storage.)

🧰 Before You Begin: What's in the Box
Your Adoorn Locking Post Mount Mailbox ships with all the hardware you need to mount to a wood post.
-
4 x 2" Screws
-
5/16" Flat Head Lag Bolt (for wood mounting posts)
-
Two keys for the main compartment
-
QR code for key registration
Mounting to an Adoorn metal post? You'll use the hardware that comes with the post instead (4 x 5/16" Bolts). The hardware above is specifically for wood post installations.
(Pro tip: Lay all hardware out on a clean surface before you begin. It makes the process faster and confirms nothing is missing.)

🔧 Tools You'll Need
-
Wrench or socket wrench
-
Drill with 1/4" bit (if mounting on a wood post)
-
Pen or pencil
-
Level
-
Tape measure

📬 Step 1: Contact Your Local Post Office
Before you install anything, you're required to contact your local post office to confirm proper placement and height at the street. Every route is a little different, and your carrier needs to be able to access the mailbox safely from the road.
Here are the general USPS guidelines to keep in mind:
-
Height: Install the mailbox so the mail entry point sits 41"– 45" from the road surface.
-
Setback: The mailbox door should be 6"– 8" from the front face of the curb or road edge.
(These are general guidelines. Your local post office may have specific requirements for your street or neighborhood, so always confirm before you start.)

📮 Step 2: Confirm Your Post
Adoorn Locking Post Mount Mailboxes are designed to attach to an Adoorn Post, but they're compatible with most standard mailbox posts. If you don't have a post yet, you can purchase an Adoorn Post at adoorn.com.
Before mounting, make sure your post is:
-
Securely set in the ground
-
Plumb (straight up and down) and level across the top
-
At the correct height based on USPS guidelines from Step 1
(If you're installing a new post, make sure it's fully set and stable before attaching the mailbox. Concrete footings typically need 24–48 hours to cure.)

For instructions on installing your Adoorn In-Ground Post, click here.
🔩 Step 3A: Mount to a Metal Post
If you're mounting to an Adoorn metal post, the process is quick and easy.
-
Align the four mailbox mounting holes on the bottom of the mailbox with the four holes on the top of the metal mounting post.
-
Using a wrench, attach the mailbox to the post using the hardware included with the post (4 x 5/16" Bolts).
-
Insert bolts from the inside of the mailbox facing the open end of the bolt toward the ground.
-
Tighten until snug and secure.
Note: For metal posts, use the hardware included with the Mounting Post, not the hardware that came with the mailbox.

🛠️ Step 3B: Mount to a Wood Post
If you're mounting to an existing wood post, start by checking for a compatible hole pattern.

Your Adoorn mailbox has multiple mounting hole formations on the inside bottom. Flip the mailbox over or look inside to see them. Then check your existing post for matching hole patterns.
If you find a matching pattern:
-
Attach the mailbox using the hardware provided with the mailbox, or the existing hardware already in place on the post.
-
Tighten with a wrench until secure.
If there are no matching hole patterns, you'll need to drill new mounting holes into the wood post. Here's how:
① Mark your holes
Use a pen or pencil to mark the drill points on the wood post. Use the bottom of the mailbox as your guide by placing it on top of the post and marking through the mounting holes.
② Drill pilot holes
Using a 1/4" drill bit, drill pilot holes into the wood post 2" deep.
③ Attach the mailbox
Align the mailbox mounting holes with the holes you just drilled. Using a wrench, attach the mailbox to the post with the lag screws provided. Tighten until snug and firm.
⚠️ Important: Do NOT drill new holes into the Adoorn mailbox. Drilling into the mailbox exposes untreated metal and voids the Adoorn warranty. Only drill into the wood post.
🚩 Attach Your Mailbox Flag
Your mailbox includes a signal flag that lets your mail carrier know you have outgoing mail ready for pickup. It does not come pre-attached. To install:
-
Locate the two pre-drilled holes on the upper corner of the mailbox side panel.
-
Select the two smallest screws from your hardware kit.
-
Align the flag bracket with the two holes and secure using the screws. Hand-tighten first, then snug with a Phillips screwdriver.
-
Test the flag motion. It should swing up and down freely without catching on the mailbox body.
📮 How to Use Outgoing Mail
Need your mail carrier to pick something up? Here's how the outgoing mail feature works:
-
Open the top panel of the mailbox (where the carrier deposits your mail and deliveries).
-
Place your outgoing mail under the outgoing mail clip.
-
Raise the red flag to signal your carrier.
The mail carrier will retrieve your outgoing mail and lower the flag.

✨ Care and Maintenance
Your Adoorn Locking Post Mount Mailbox is built to last, and designed to look good doing it. A little upkeep goes a long way.
-
Preserve the finish: Apply a clear car wax to the exterior as needed to protect the color and coating.
-
Touch up damage: If bare metal becomes exposed, apply a protective paint (such as Rust-Oleum®) promptly to prevent rust.
-
Maintain the lock: Apply a lubricant (such as Tri-Flow®) to the interior of the lock twice per year to keep it operating smoothly.
-
Clean: Mild soap and water. That's it.

Complete The Look
Finish your mailbox setup with 4" Mailbox Numbers. This ensures best address visibility for guests, delivery personnel, and delivery services. Get yours here!

🎉 You're Done. Step Back and Admire
Whether you mounted to an Adoorn Post or an existing setup, your home just got a serious curb appeal upgrade. A clean modern look and that daily-delivery confidence that comes with knowing your mailbox was designed with intention.
Your mail service is easier to use, your deliveries are more secure, and the whole setup looks unmistakably considered. The Adoorn way.

Related Adoorn Guides
- How To Install Your New 51" In-Ground Post Mount
- How To Install Your New Non-Locking Post Mount Mailbox
- How To Install Your New 4" Mailbox Numbers
- Shop Adoorn Locking Post Mount Mailbox
- Order Replacement Keys
📌 Quick Reference
-
Metal post hardware: 4 x 5/16" Bolts (included with the Adoorn Post)
-
Wood post hardware: 4 x 2" Screws + 5/16" Lag Bolt (included with the mailbox)
-
Tools needed: Wrench/socket wrench, drill with 1/4" bit (wood posts), pen/pencil, level, tape measure
-
Mailbox height: 41"–45" from road surface to mail entry (USPS guideline)
-
Setback: 6"–8" from curb or road edge to mailbox door
-
Post compatibility: Adoorn Post or most standard posts
-
Key registration: Register keys for replacements here.
-
Lock maintenance: Lubricate twice per year (Tri-Flow® or similar)
-
Warranty: Limited Lifetime Warranty
-
Return policy: 30-Day Returns
-
First step: Contact your local post office before installing