

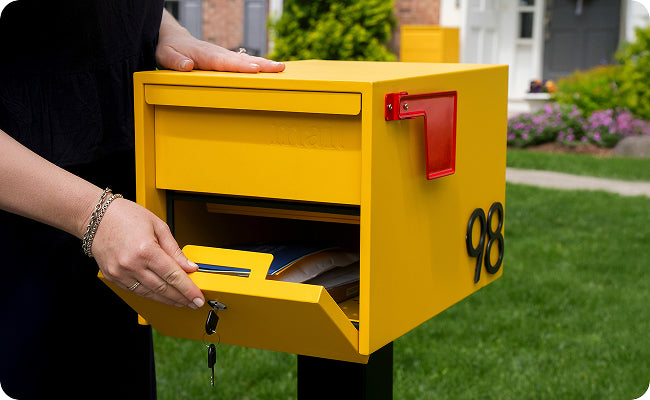
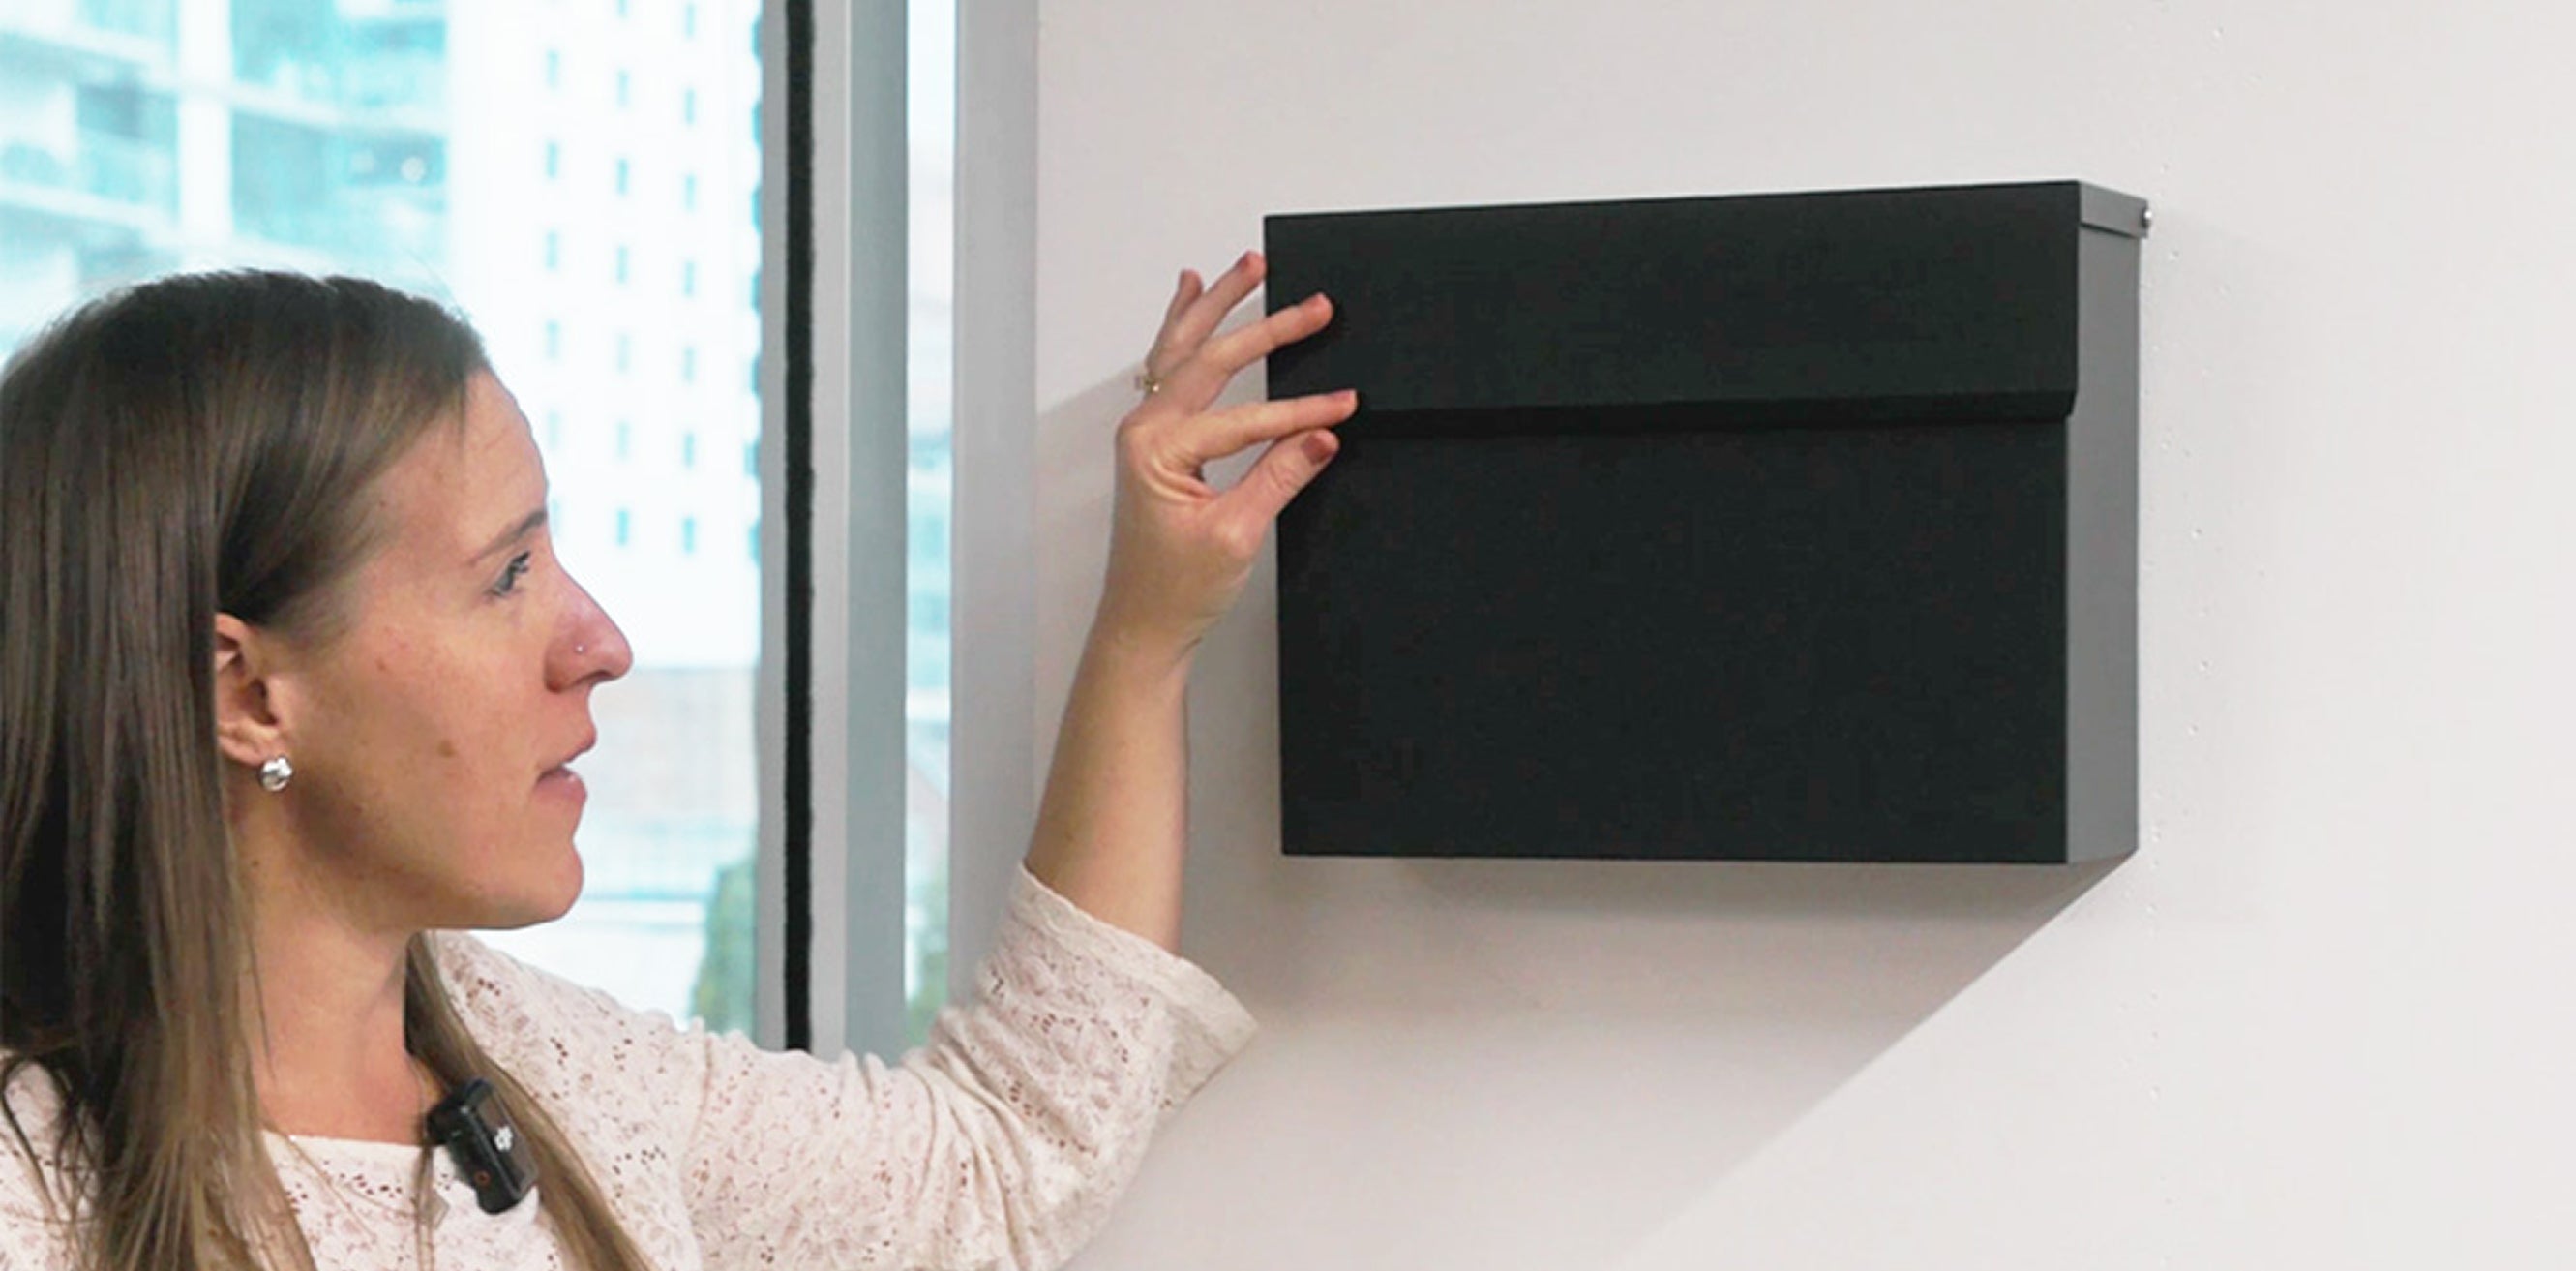

Simple. Stylish. Straightforward. That's the Adoorn way and installing your new Wall Mount Mailbox should feel just as simple. Whether you're mounting under an eave or on a protected exterior wall, the right install means years of reliable, good-looking daily deliveries.
This guide walks you through every step: placement rules and hardware to mounting options and ongoing care. Pulled directly from the instructions included with your mailbox, expanded here with extra detail so nothing gets missed.
For printable instructions, download here.
🧰 Before You Begin: What's in the Box
Your Adoorn Wall Mount Mailbox (Non-Locking) ships with all the hardware you need to mount securely to an exterior wall.
-
2 x Mounting Screws (3/16" Hex Phillips Head)
-
2 x Washers
-
2 x 3/16" Wall Anchors (optional, for drywall or hollow walls)
(Pro tip: Lay all hardware out on a clean surface before you begin It makes the process faster and confirms nothing is missing.)
🔧 Tools You'll Need
-
Drill with 3/16" bit
-
Phillips head drill attachment (or Phillips screwdriver)
-
Hammer (for tapping in wall anchors)
-
Level
-
Tape measure
-
Pencil
-
Water-resistant caulk (optional, for additional moisture protection)

📍 Where to Mount
Location is everything. Your Wall Mount Mailbox is designed for exterior walls and performs best when protected from the elements.
-
Mount under an eave or protected area to shield from direct rain and snow.
-
Position for easy carrier access Place the mailbox where your mail carrier can safely reach it without stepping or stretching.
-
Choose a water-resistant surface Solid wood, stucco, masonry, or vinyl siding work best. The mailbox itself is fully water-resistant on the exterior.
-
Avoid direct sun exposure when possible This helps preserve the finish over time.

📍 Step 1: Measure and Mark
Proper measurement ensures your mailbox sits at the right height and stays level.
-
Hold the mailbox against the wall at your desired location.
-
Measure up from the ground Install the mailbox so the bottom sits between 55"–65" from ground level. This height makes it accessible to carriers while keeping it proportional to your home's facade.
-
Use your level to ensure the mailbox is perfectly horizontal. Adjust up or down as needed.
-
Mark the mounting holes With the mailbox held in place, open the door and use your pencil to mark the TWO mounting holes on the back of the mailbox, directly onto the wall.
-
Remove the mailbox carefully, keeping your pencil marks visible.

🔩 Step 2: Drill Holes
Drilling correctly ensures secure mounting and prevents damage to your wall or siding.
-
Select the right bit Use a 3/16" drill bit appropriate for your wall material:
-
Masonry or stucco: Use a masonry bit rated for concrete/stone.
-
Wood, shingle, or vinyl siding: Use a standard drill bit (metal or wood boring).
-
-
Drill TWO pilot holes at your pencil marks, drilling approximately 2" deep.
-
If using wall anchors (for drywall or hollow walls), gently tap each anchor into the pilot holes with a hammer until flush with the wall surface.
(Tip: Wall anchors provide extra holding power in drywall. If you're mounting to solid wood or masonry, anchors are optional. The screws alone will secure the mailbox.)
🛠️ Step 3: Mount and Secure
You're in the final stretch. Take your time to ensure everything is tight and level.
-
Align the mailbox with the pilot holes you just drilled.
-
Insert the mounting screws (3/16" Hex Phillips Head) with washers through the back mounting holes and into your pilot holes.
-
Tighten using your drill (with Phillips head attachment) or a Phillips screwdriver. Tighten firmly until the mailbox feels snug against the wall Do not overtighten, as this can strip the threads or crack the mounting plate.
-
Check for level one final time using your level against the mailbox top.
-
Optional: Seal with caulk Apply water-resistant caulk around the mounting holes and edges where the mailbox meets the wall for extra moisture protection, especially if your mailbox is exposed to heavy rain or snow.
✨ Care and Maintenance
Your Adoorn mailbox is built to last, and designed to look good doing it. A little upkeep goes a long way.
-
Preserve the finish: Apply a clear car wax to the exterior as needed to protect the color and coating from UV exposure and weather.
-
Touch up damage: If bare metal becomes exposed, apply a protective paint (such as Rust-Oleum®) promptly to prevent rust.
-
Clean: Mild soap and water. That's it. No special treatments needed.
-
No lock maintenance required: This non-locking model requires zero lock care one less thing to worry about.

📍 You're Done
Step back and admire. Your home just got a serious curb appeal upgrade. A clean, modern look and the daily-delivery confidence that comes with knowing your mailbox was designed with intention.
Now the whole setup looks unmistakably considered. The Adoorn way.

Related Adoorn Guides
- How to Install Your New Locking Wall Mount Mailbox
- How To Install Your New 4" Mailbox Numbers
- How To Install Your New 6" House Numbers
- Shop Adoorn Wall Mount Mailbox
📍 Quick Reference
-
Hardware included: 2 x Mounting Screws (3/16" Hex Phillips), 2 x Washers, 2 x 3/16" Wall Anchors (optional)
-
Tools needed: Drill with 3/16" bit, Phillips head attachment, hammer, level, tape measure, pencil, caulk (optional)
-
Mounting height: 55"–65" from ground level
-
Drill depth: Approximately 2" per pilot hole
-
Best mounting surfaces: Solid wood, stucco, masonry, vinyl siding
-
Location: Under an eave or protected area, easily accessible to mail carriers
-
Maintenance: Car wax for finish preservation, mild soap and water for cleaning, touch up with Rust-Oleum if needed
-
Non-locking model: No lock maintenance required