

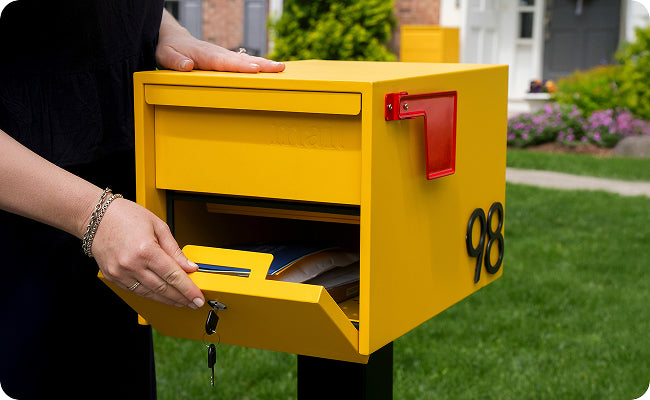
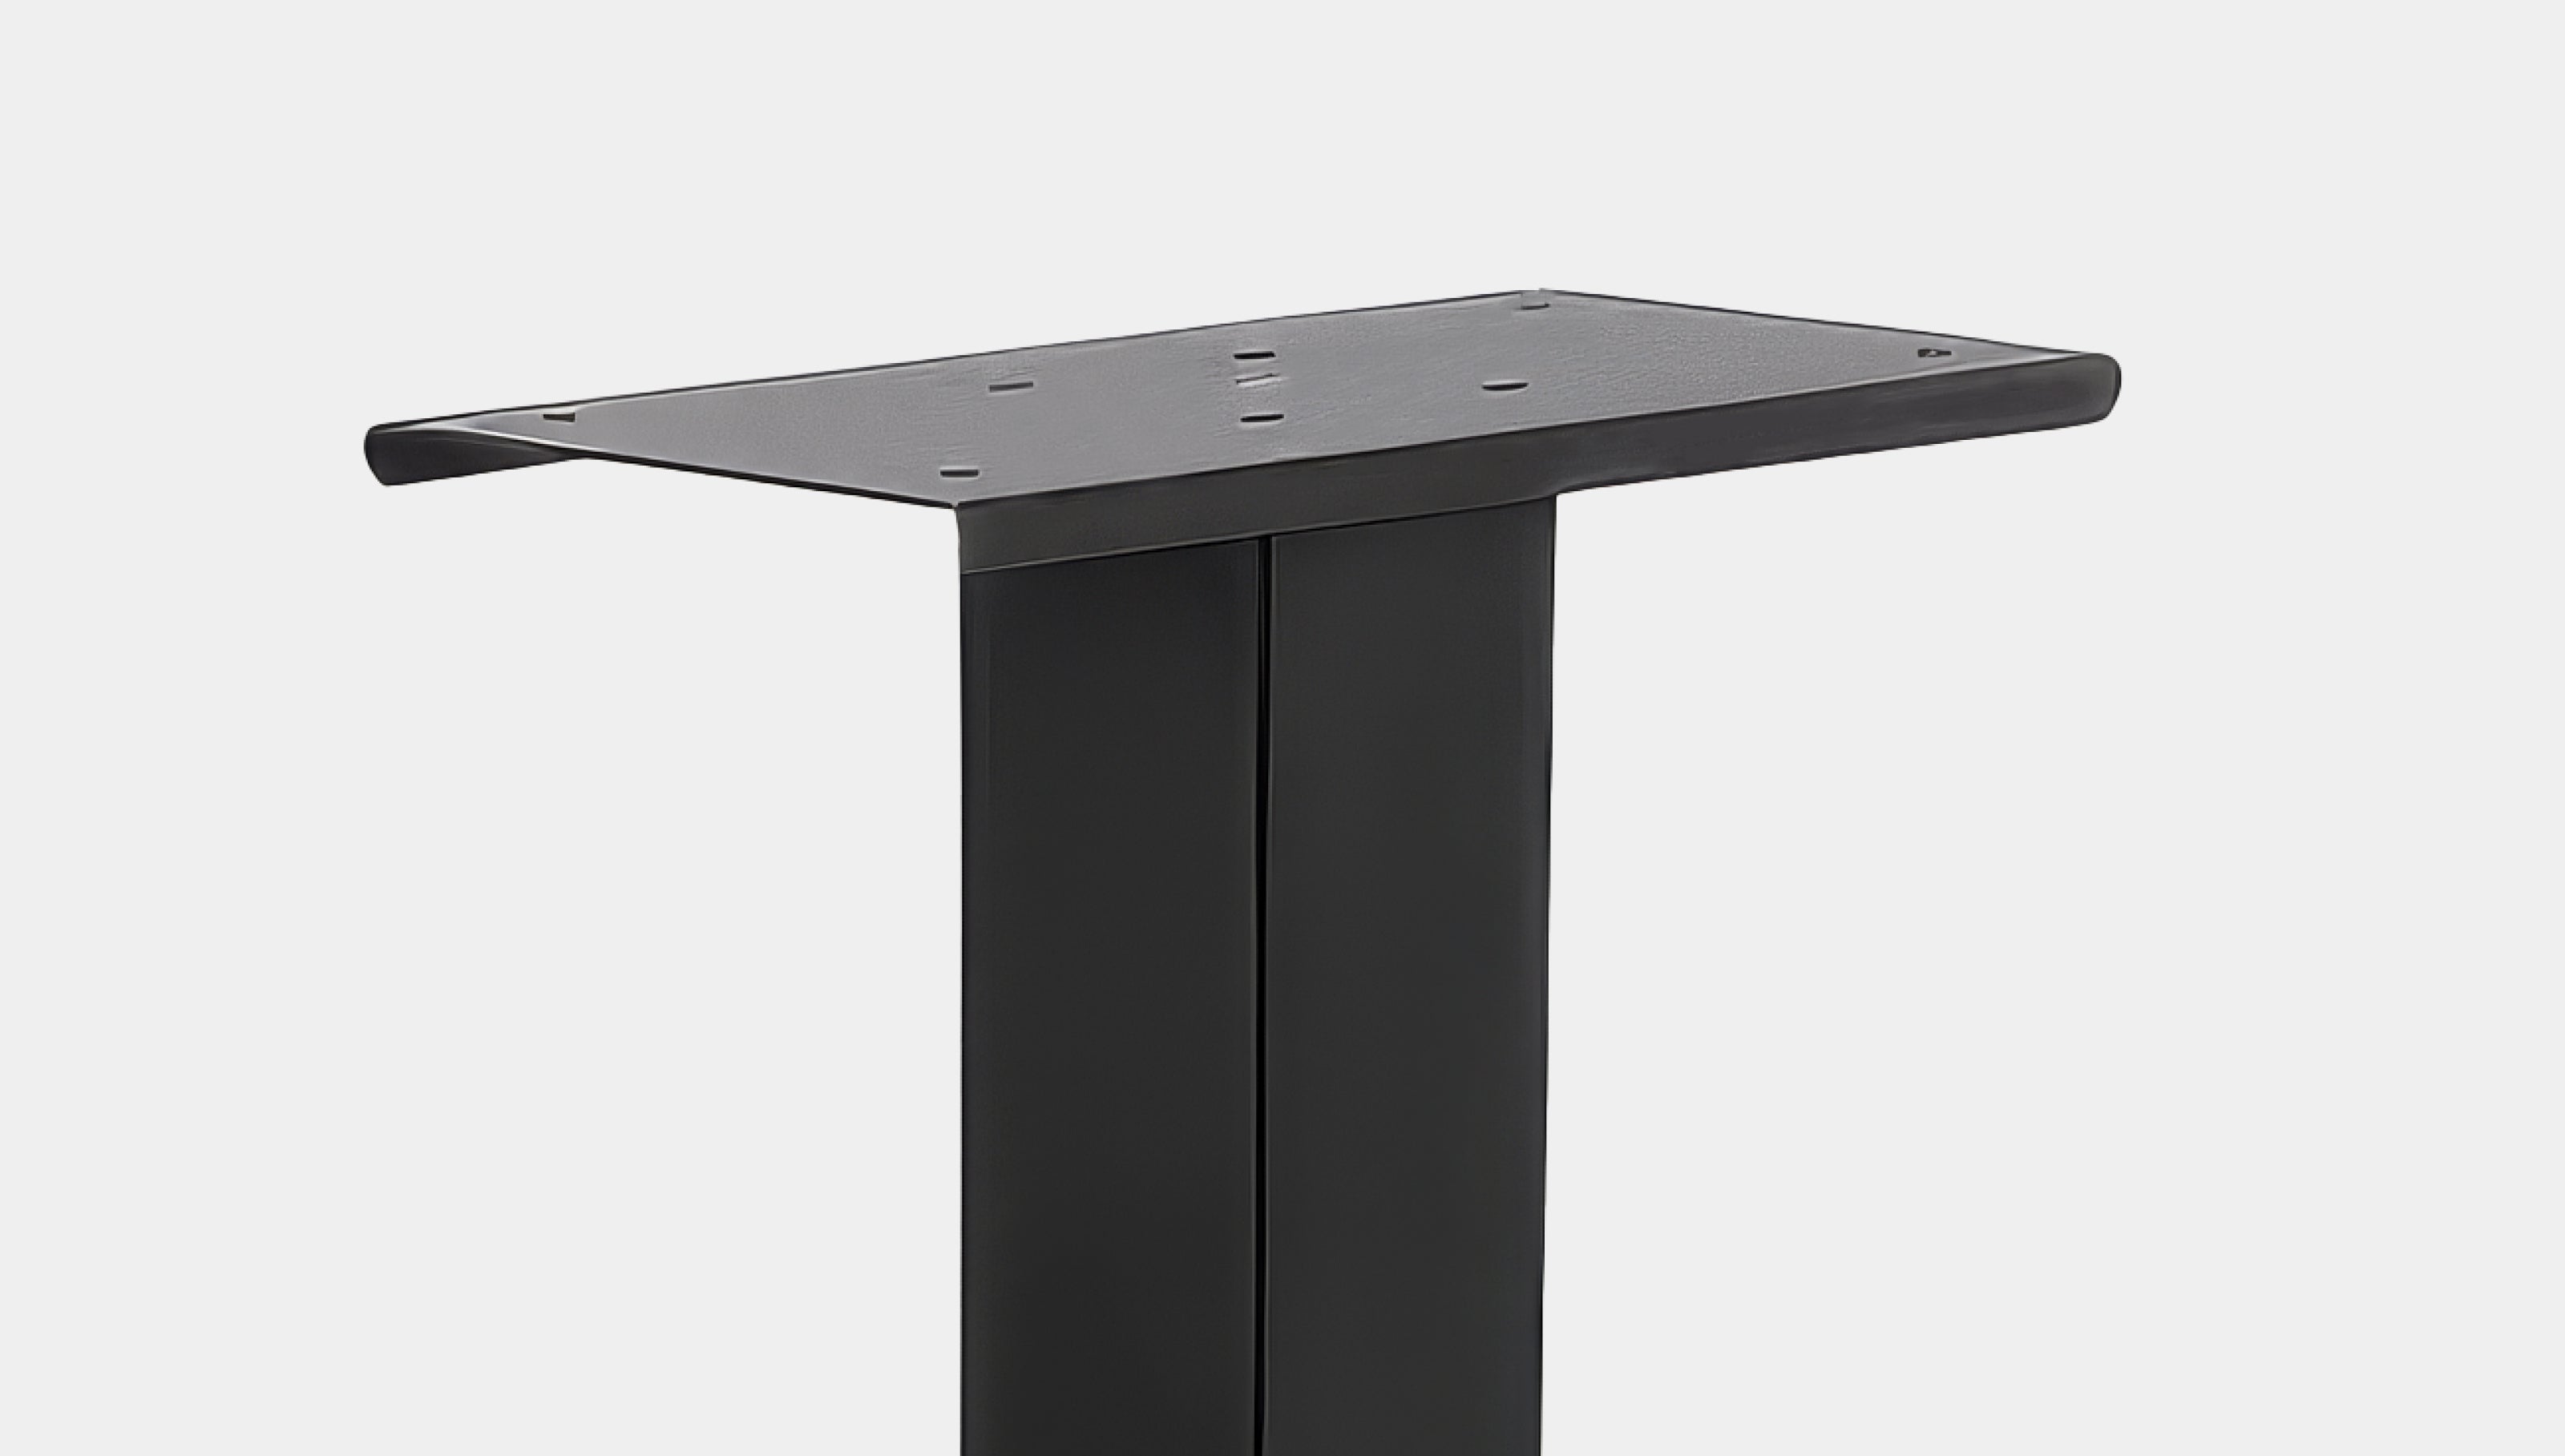

Setting an in-ground post is the foundation for a beautiful, stable mailbox installation. Done right, your Adoorn 51" In-Ground Post Mount will stand straight, be weatherproof, and stay ready for years of reliable service. This guide walks you through every step: from site selection and ground prep to concrete curing and mailbox attachment.
Take your time, follow the steps in order, and you'll have a mailbox installation that looks as intentional as your mailbox itself.
For printable instructions, download here.
⚠️ Before You Begin: Call 811
This is non-negotiable. Before you pick up a shovel, call 811 to locate underground utilities (gas, electric, water, fiber) in your installation area. It's free, it's required, and it keeps you safe.
Every state handles this differently, but the process is simple: Call 811, they'll dispatch a locator who marks your utility lines with paint or flags, and you'll have a clear picture of where it's safe to dig.
Do not skip this step.
📬 USPS Placement Requirements
Before you pick your installation spot, contact your local post office to confirm placement and height. Every route is a little different, and your carrier needs to be able to access the mailbox safely from the road.
Here are the USPS guidelines to keep in mind:
-
Height from Road: The mail entry point (where mail is deposited by the mail carrier) should sit 41"– 45" from the road surface. For non-locking mailboxes, measure the inside surface. For locking mailboxes, measure the lowest edge of the mail entry.
-
Setback: The mailbox door should be 6"– 8 " from the curb or road edge.
-
Address Numbers: Finish the installation by adding address numbers to the mailbox so your carrier and friends / family can find you.
(These are general guidelines. Your local post office may have specific requirements for your street or neighborhood, so always confirm before you start.)
📏 Where to Install Your Post
Location matters. Here's how to find the right spot and calculate your hole depth based on curb height.
Step 1: Find Your Installation Spot
Measure 16"–18" from the edge of the road or curb. This is where the post will go.
Step 2: Calculate Hole Depth (If You Have a Curb)
The mailbox needs to sit 41"– 45" from the road surface (let's use 42" as our target).
-
Measure the height of your curb.
-
Subtract curb height from 42". The result is how much post should be above ground.
-
The remainder of the 51" In-Ground Post Mount goes below ground in the hole.
Example:
If your curb is 6" tall:
42" – 6" = 36" above ground, 15" below ground.
If your curb is 8" tall:
42" – 8" = 34" above ground, 17" below ground.
Step 3: Calculate Hole Depth (If You Don't Have a Curb)
With no curb, install the 51" In-Ground Post Mount so that 41" sits above ground and dig a hole 10" deep for stability and frost protection.
🔧 Tools You'll Need
-
60lb bag of quick-setting concrete (and a bucket to mix it in)
-
Shovel (round-point for digging)
-
Level
-
Measuring tape
-
Wrench or socket wrench
① Step 1: Set the Post
This is where your mailbox's stability starts. Take your time here.
① Dig the hole
Using your measurements from the "Where to Install" section, dig a hole to the calculated depth. Make sure the bottom is relatively flat and packed. The hole should be just wide enough for the post with a little room for concrete.
② Orient the post correctly
Before you set the post, take a quick look at it. The open end goes down, into the hole. The closed end, with the pre-drilled mount holes, should face up. Those top holes are how the Surface Mount plate and mailbox attach later, so getting this right now matters: once the concrete sets, an upside-down post cannot be flipped.
③ Stand the post
With the post oriented correctly, place it in the center of the hole and stand it as straight as you can by eye.
④ Check for plumb
Use your level to check that the post is perfectly straight (plumb) in all directions. Adjust as needed.
⑤ Mix and pour concrete
Mix your 60lb bag of quick-setting concrete according to package directions in a bucket. Pour it around the post, filling the hole completely. Use the handle of your shovel to work the concrete around the post and remove air pockets.
⑥ Level one more time
Check plumb again with your level before the concrete starts to set. Small adjustments are still possible.
⑦ Let it cure completely
Quick-setting concrete typically cures in 24–48 hours. Don't move or attach anything to the post until it's fully set. This is not optional. A weak concrete foundation will cause problems down the road.
② Step 2: Attach the Mailbox
Once your concrete is fully cured, it's time to mount your mailbox. This part goes quickly.
For mailbox installation instructions, click below:
Non-Locking Post Mount Mailbox Instructions
Locking Post Mount Mailbox Instructions
① Prepare the hardware
Take the Surface Mount plate and the hardware from your In-Ground Post Mount package. You'll use the middle hole on the Surface Mount and the small screw (the short side of the plate faces the street).
② Attach the Surface Mount to the post
Using a wrench or socket wrench, screw the Surface Mount to the post using the middle hole. Tighten until snug but don't over-tighten.
③ Identify mailbox mounting holes
Look at the bottom of your mailbox. The mounting holes are marked with an "X" in the center. Find the 2.5" x 2.5" holes in the middle. These are the universal mounting holes.
④ Position the mailbox
Lower the mailbox onto the Surface Mount plate so the four 2.5" x 2.5" universal mounting holes on the bottom of the mailbox line up with the holes in the plate. The mailbox door should face the street, opening toward the curb side.
⑤ Secure the mailbox
Insert the four 5/16" bolts (included with your In-Ground Post Mount) from inside the mailbox, threading them down through the floor of the mailbox into the Surface Mount plate. The open end of each bolt should face the ground. Add the washers and nuts from underneath, then tighten with a wrench until snug and secure. Do not over-tighten, and do not drill any new holes into the mailbox. Drilling exposes untreated metal and voids the Adoorn warranty.
⑥ Check alignment
Step back and confirm three things: the mailbox sits square to the road, the door opens and closes cleanly without rubbing, and the box reads plumb across the top. Make small adjustments before final tightening if anything looks off, then give each bolt one last snug pass.
✨ Care and Maintenance
Your Adoorn mailbox is built to last, and designed to look good doing it. A little upkeep goes a long way.
-
Preserve the finish: Apply a clear car wax to the exterior as needed to protect the color and coating.
-
Touch up damage: If bare metal becomes exposed, apply a protective paint (such as Rust-Oleum® ) promptly to prevent rust.
-
Maintain the lock: Apply a lubricant (such as Tri-Flow®) to the interior of the lock twice per year.
-
Clean: Mild soap and water. That's it.
Complete The Look
Finish your mailbox setup with 4" Mailbox Numbers. This ensures best address visibility for guests, delivery personnel, and delivery services. Get yours here!

🎉 You're Done
Your mailbox is set, secure, and ready for daily deliveries. Step back and look at what you built. A clean, modern installation that says as much about your home as it does about you.
Your address is easy to find, your mail is secure, and the whole setup looks unmistakably considered. That's the Adoorn way.

Related Adoorn Guides
- How To Install Your New Non-Locking Post Mount Mailbox
- How To Install Your New Locking Post Mount Mailbox
- How To Install Your New 4" Mailbox Numbers
- Shop Adoorn In-Ground Mounting Post
- Shop Dual Mounting Post (for two mailboxes)
📌 Quick Reference
-
First step: Call 811 before digging
-
Mailbox height: 41"–45" from road surface to mail entry (USPS guideline)
-
Setback: 6"–8" from curb or road edge to mailbox door
-
Post location: 16"–18" from road edge
-
Concrete needed: 60lb. bag of quick-setting concrete
-
Concrete cure time: 24 – 48 hours (do not attach mailbox until fully cured)
-
Tools needed: Shovel, level, measuring tape, wrench or socket wrench
-
Hole depth (with curb): 42" – curb height = above ground height; rest goes below ground
-
Hole depth (no curb): 41" above ground, 10" below ground
-
Lock maintenance: Lubricate twice per year (Tri-Flow® or similar)
-
Contact your post office: Confirm height and placement before installing