

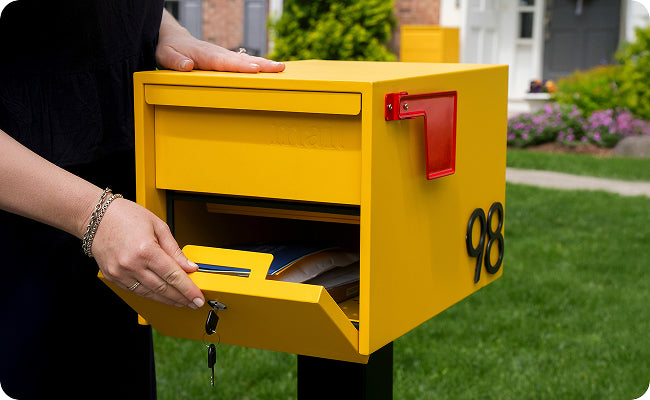
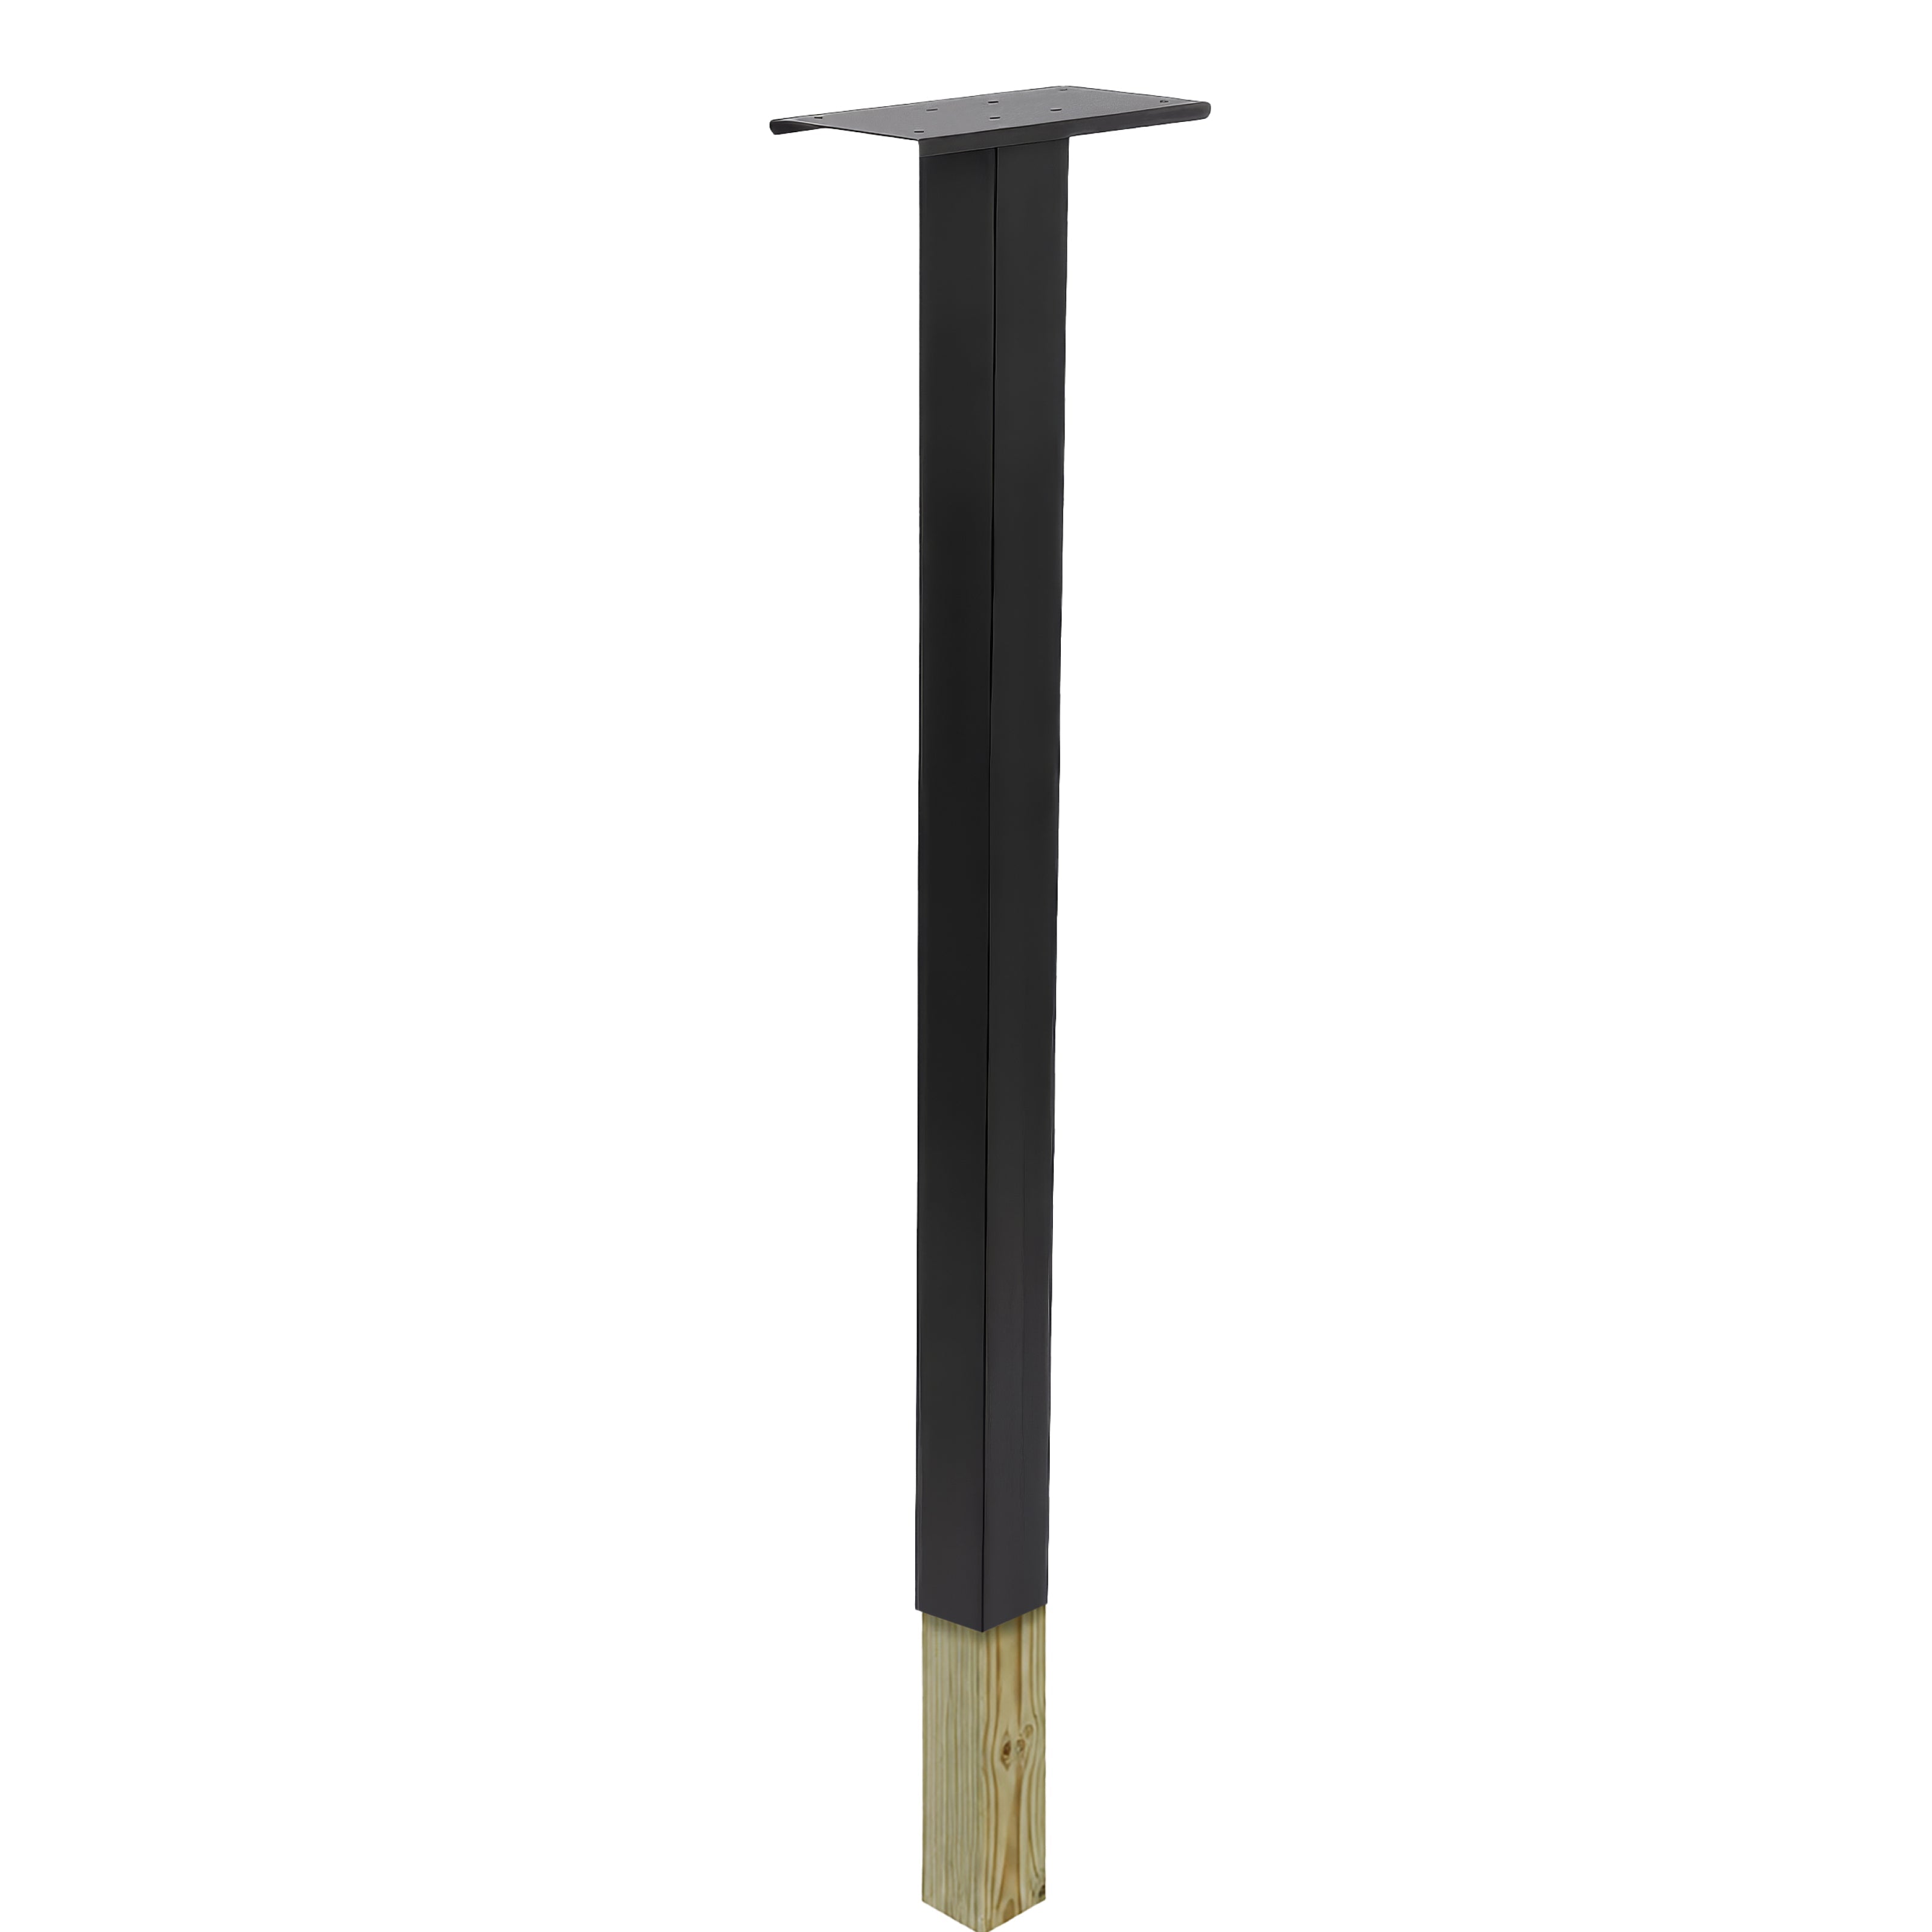

Some upgrades ask for a shovel and a lost weekend. This one does not. The Adoorn 43" Slip-Over Post drops straight over an existing 4×4 wood post, so a tired old mailbox becomes a clean, modern one in an afternoon. Powder-coated steel, weatherproof, and the same considered lines as our in-ground posts, without breaking ground.
The idea is simple. The steel post is a sleeve: its open bottom slides down over the wood post, and its closed top carries the surface plate and your mailbox.
No post in the ground yet? Set a treated 4×4 first, then follow this guide. For a full concrete-set post, see the 51" In-Ground Post installation guide.
Lay it out. Then it goes fast.
If your 4×4 is already set, this is a 20 to 30 minute job. Lay everything out first so you are not chasing a dropped screw in the grass.
- 43" Slip-Over Post, powder-coated steel, fully assembled
- Surface mount plate for the mailbox
- Four 5/16" mailbox screws and install card
- Wrench or socket wrench
- Level, 24 inches or longer
- Measuring tape
- Pencil or marker

Height and setback, before you mount.
Contact your local post office to confirm placement and height. Every route is a little different, and your carrier needs to reach the box safely from the road.
These are general guidelines. Your local post office may have specific requirements for your street, so always confirm before you start.
It slides on. That is the whole trick.
The open bottom of the 43" post slides over the top of the wood 4×4 and down until the steel base reaches ground level. Because the post is 43" tall and sits at grade, the mailbox mounting surface lands right in the USPS 41"–45" window on a standard curbside setup. Confirm your own measurements before mounting.

Check the wood. Then let it drop.
Confirm the existing 4×4 is solid, plumb, and not rotted. Check two sides with your level. A leaning wood post passes that lean straight to your mailbox, so fix it now.
Line up the open bottom of the Slip-Over Post with the top of the wood post and lower it straight down until the steel base reaches ground level. Keep it square to the road as it goes on.

Inside the mailbox, through the plate, into the post.

Built to last. A little upkeep goes a long way.
|
Re-tighten
Re-snug the mailbox screws after the first week, then once each season. Wood and hardware move a little with the weather.
|
Preserve the finish
Apply a clear car wax to the powder-coated steel as needed to protect the color and coating.
|
|
Touch up damage
If bare metal becomes exposed, apply a protective paint (such as Rust-Oleum®) promptly to prevent rust.
|
Clean
Mild soap and water. That is it.
|
Address numbers, easy install.
Finish the curb with 4" Mailbox Numbers so carriers, guests, and emergency services can read your address at a glance.
Slip-over questions, answered.
How long does the Slip-Over Post install take?
What size wood post does it fit?
Do I need concrete?
Will USPS deliver to a Slip-Over Post installation?
Can I remove the post later?
Do I need to call 811?
Specs and numbers at a glance.