
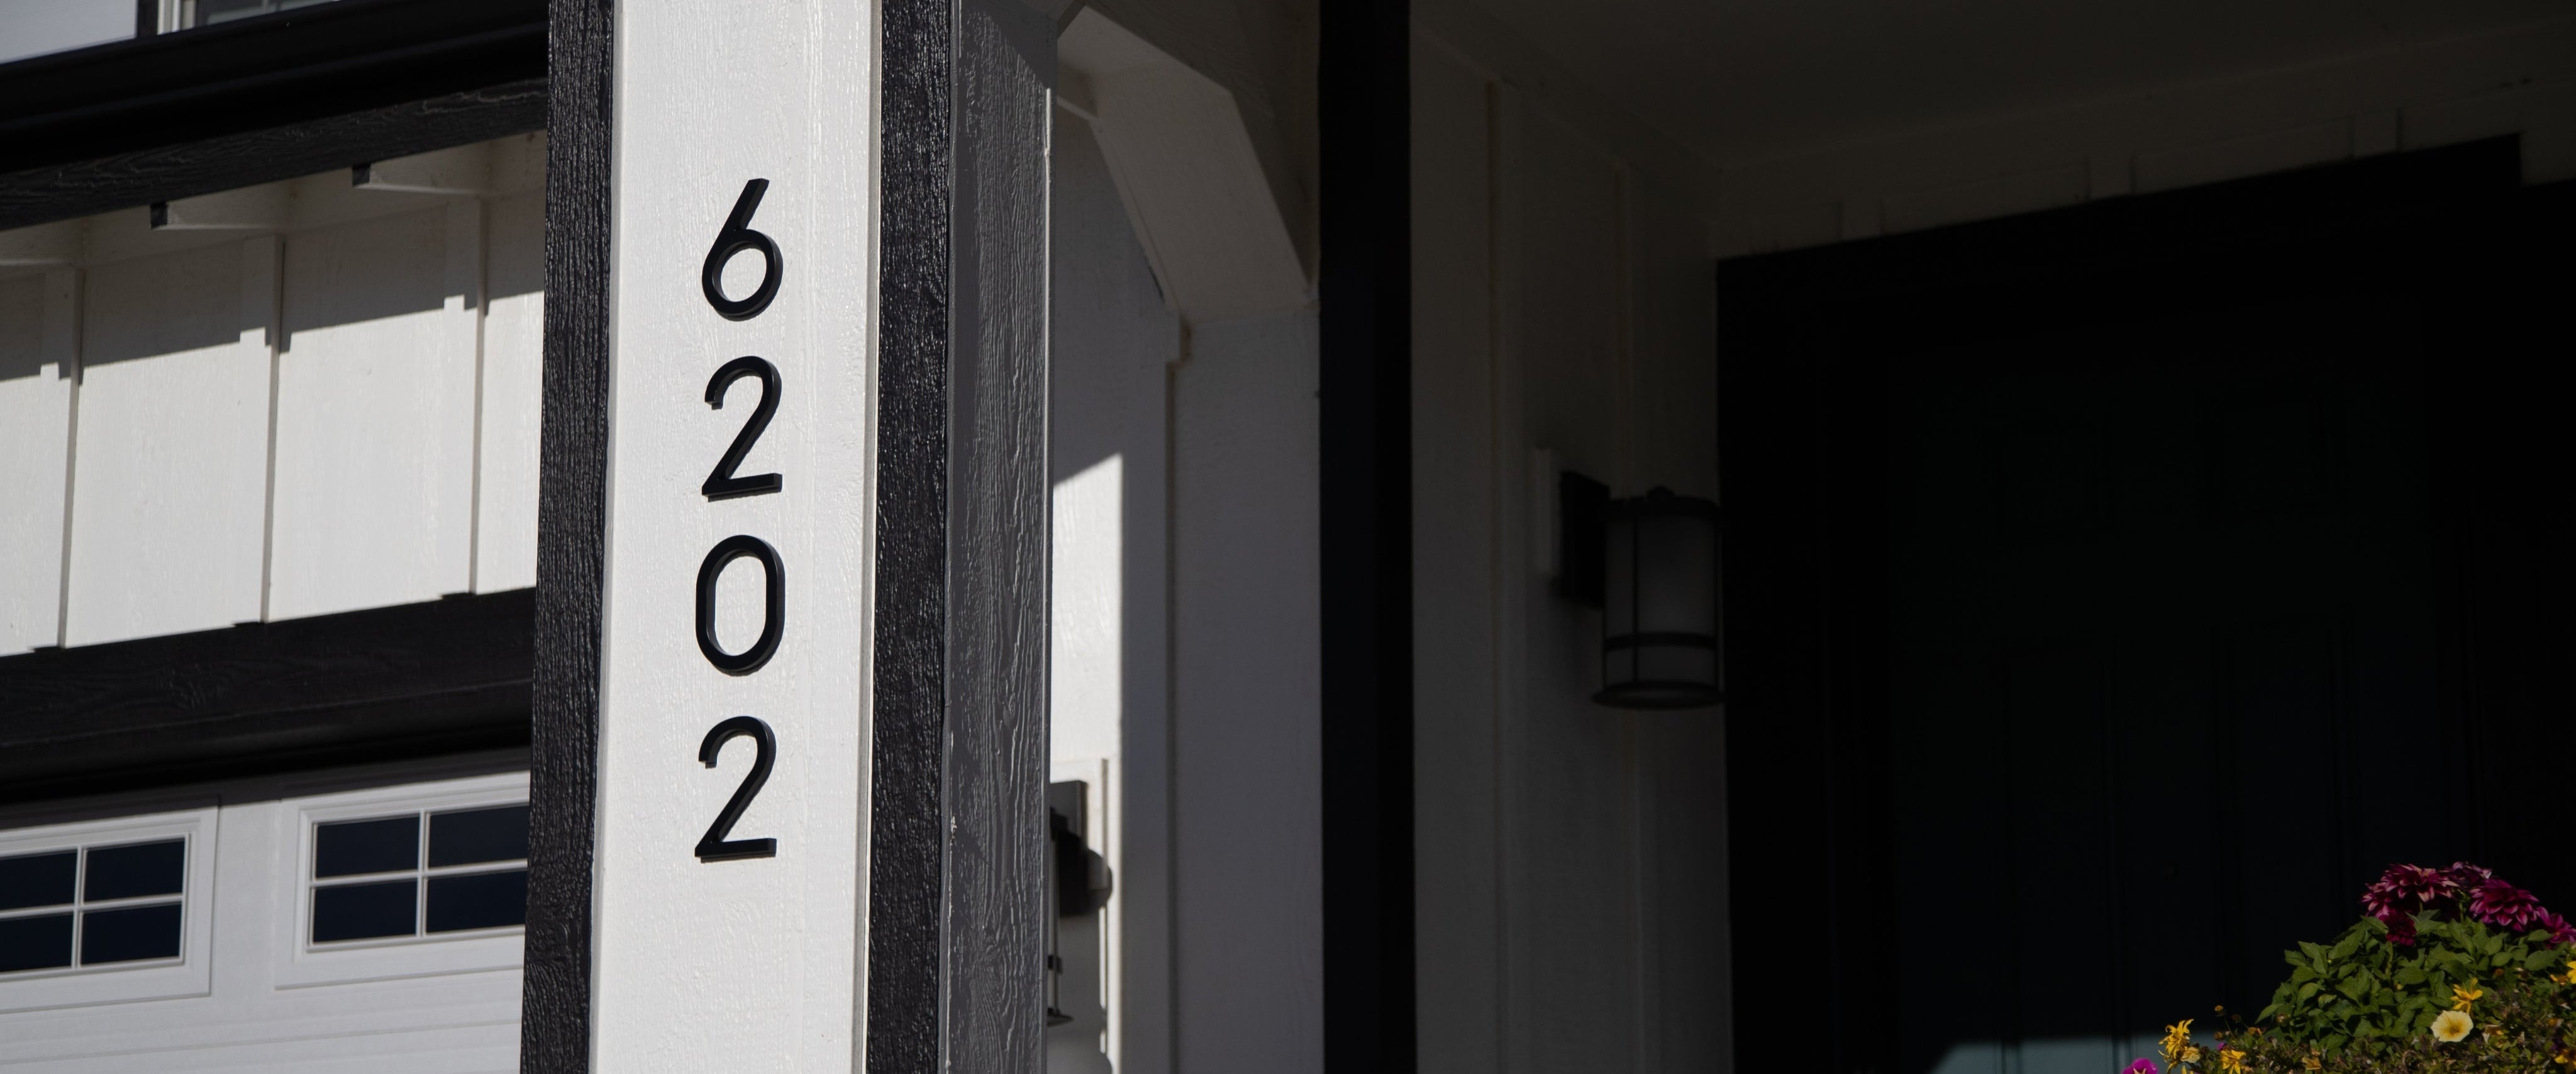
Clean. Clear. Confident. That’s the Adoorn way. Installing your new 6" Modern House Numbers should feel just as effortless. Whether you choose a floating look for bold, dimensional style or a flush look for a clean, minimalist finish, the right install makes all the difference for your curb appeal.
This guide breaks down exactly how to install Adoorn house numbers the right way, with simple steps, smart spacing tips, and clear instructions pulled directly from the back of the box. No guesswork. No confusion. Just a beautiful, modern finish you’ll admire every time you pull into the driveway.
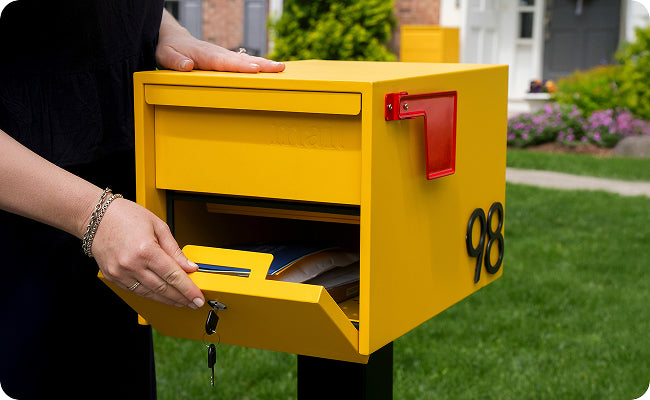
Looking for 4" Mailbox Numbers instructions? Click here!
🧰 Before You Begin: Tools You’ll Need
-
Drill with ¼" bit
-
Hammer or rubber mallet
-
Level
-
Painter’s tape
-
Tape measure
(Pro tip: Lay everything out before you start. It makes the whole process smoother.)

🌟 Step 1: Choose Your Mount, Floating or Flush?
Floating Mount (Dimensional + Modern)
If you love depth, shadow, and that architectural “pop” from the street, floating is your go-to.
Floating uses the long screws + spacers included with your Adoorn numbers.
Why choose floating?
-
Creates a shadow effect
-
Looks bold and modern
-
Adds dimension to flat surfaces
-
Great for siding, brick, or stucco

Flush Mount (Minimal + Clean)
Flush mounting uses the short screws and creates a smooth, sleek finish directly against the wall.
Why choose flush?
-
Perfect for a simple, streamlined look
-
Ideal for mid-century and minimalist homes
-
Great option if you want the numbers to blend seamlessly

No matter which style you choose, Adoorn’s concealed hardware keeps your finish clean and professional.
✏️ Step 2: Plan Your Placement + Alignment
This is where your numbers get their personality.
Horizontal Layout
-
Clean, classic, easy to read from a distance.

Vertical Layout
-
Modern, striking, and perfect for narrow wall spaces.

Diagonal Layout
-
For homes with more space to show some extra stylish flair.

How to Place the Templates
Each Adoorn number comes with a template. Tape your templates to the wall using a level to keep everything perfect.
Spacing Tip:
-
Maintain 1.5"–2.5" between each number.
(Important: Measure from the edge of each number, not the paper template boundary.)
Take a few steps back. Make sure it looks centered and balanced from the street.


🛠️ Step 3: Drill the Holes
Once your templates look right, it’s time to drill.
-
Use your ¼" drill bit
-
Drill pilot holes 1.25" deep
-
Remove templates
-
Insert wall anchors into each hole
Anchors ensure your numbers stay secure on siding, brick, stucco, or wood.

🔩 Step 4: Attach Screws to the Numbers
Hold your number face-down and twist the screws into the back.
-
Floating install? Add the included spacer onto the screw.
-
Flush install? Skip the spacer. Just use the short screws.
Each screw should sit straight and snug.
🔨 Step 5: Install the Numbers
Now the fun part.
-
Line up each screw with its matching wall anchor
-
Gently tap into place using a rubber mallet or a hammer with a towel over the number
(This protects the finish, so don’t skip this part.)
Repeat for each number until everything is level, secure, and stunning.

✨ Care and Maintenance
Adoorn house numbers are built to live outside, but a little upkeep keeps them looking sharp.
-
Clean: Wipe with mild soap and water. Skip abrasive pads and harsh solvents, which can dull the finish.
-
Preserve the finish: Apply a clear car wax once or twice a year to protect the color and coating against UV and weather.
-
Touch up damage: If bare metal becomes exposed from a scrape or impact, apply a protective paint (such as Rust-Oleum®) promptly to prevent rust.
-
Re-seat over time: Walls settle. After the first season, give each number a gentle press to confirm the screws are still snug in their anchors.
🎉 You’re Done. Step Back and Enjoy
Whether you installed your Adoorn numbers floating or flush, you just gave your home a polished, modern upgrade that’s as functional as it is beautiful.
Your curb appeal just leveled up.
Your address is now easier to find, easier to read, and unmistakably yours, with that clean Adoorn look.

Related Adoorn Guides
- Horizontal or Vertical House Numbers: Layout Tips
- How To Install Your New 4" Mailbox Numbers
- How To Install Your New Non-Locking Post Mount Mailbox
- Shop Adoorn 6" House Numbers
📌 Quick Reference (For Fast DIYers)
Floating Mount = long screws + spacers
Flush Mount = short screws
Spacing = 1.5"–2.5" between numbers
Template first → drill → anchors → attach screws → tap in