
Stable. Simple. No digging. The Surface Mount Post bolts to any hard, level surface and gives your Adoorn mailbox the same finish and proportions as the in-ground version. Concrete pads, asphalt, pavers, and brick patios all work as long as the surface is structurally sound.

This guide walks you through every step, from surface check and hardware list to final tightening. The instructions are pulled from the install card included with your post and expanded with extra detail for anyone setting one up for the first time.
📦 Before You Begin: What's in the Box
-
Surface Mount Post, powder-coated steel, fully assembled.
-
Mounting base plate, pre-welded to the post.
-
4 × M10 wedge anchor bolts, sized for concrete and masonry.
-
4 × gasket washers, used to seat the post against the surface.
-
Install card with measurements and torque specs.

🔧 Tools You'll Need
-
Drill with a masonry bit.
-
Wrench or socket wrench.
-
Hammer.
-
Measuring tape.
-
Level, 24 inches or longer.
-
Pencil or marker.
⚠️ Before You Drill: Call 811
Always check with your local utility companies before drilling or digging by calling 811. It's a free service that flags buried gas, water, electric, and communication lines so your install doesn't hit anything it shouldn't.
Contact your local post office before installing, too. This ensures correct placement and height at the street.
📍 Choose the Right Surface
The Surface Mount Post is designed for permanent installation on a hard, level, structurally sound surface. Surfaces that work well:
-
Concrete pads at least 4 inches thick.
-
Asphalt driveways and curbside pads.
-
Brick or paver patios where the bolts can pass through into solid material below.
-
Stone or composite surfaces rated for fastener load.

Surfaces to avoid: loose pavers without a foundation, and any surface less than 3 inches thick. If the post wobbles after install, the surface is the problem, not the post.
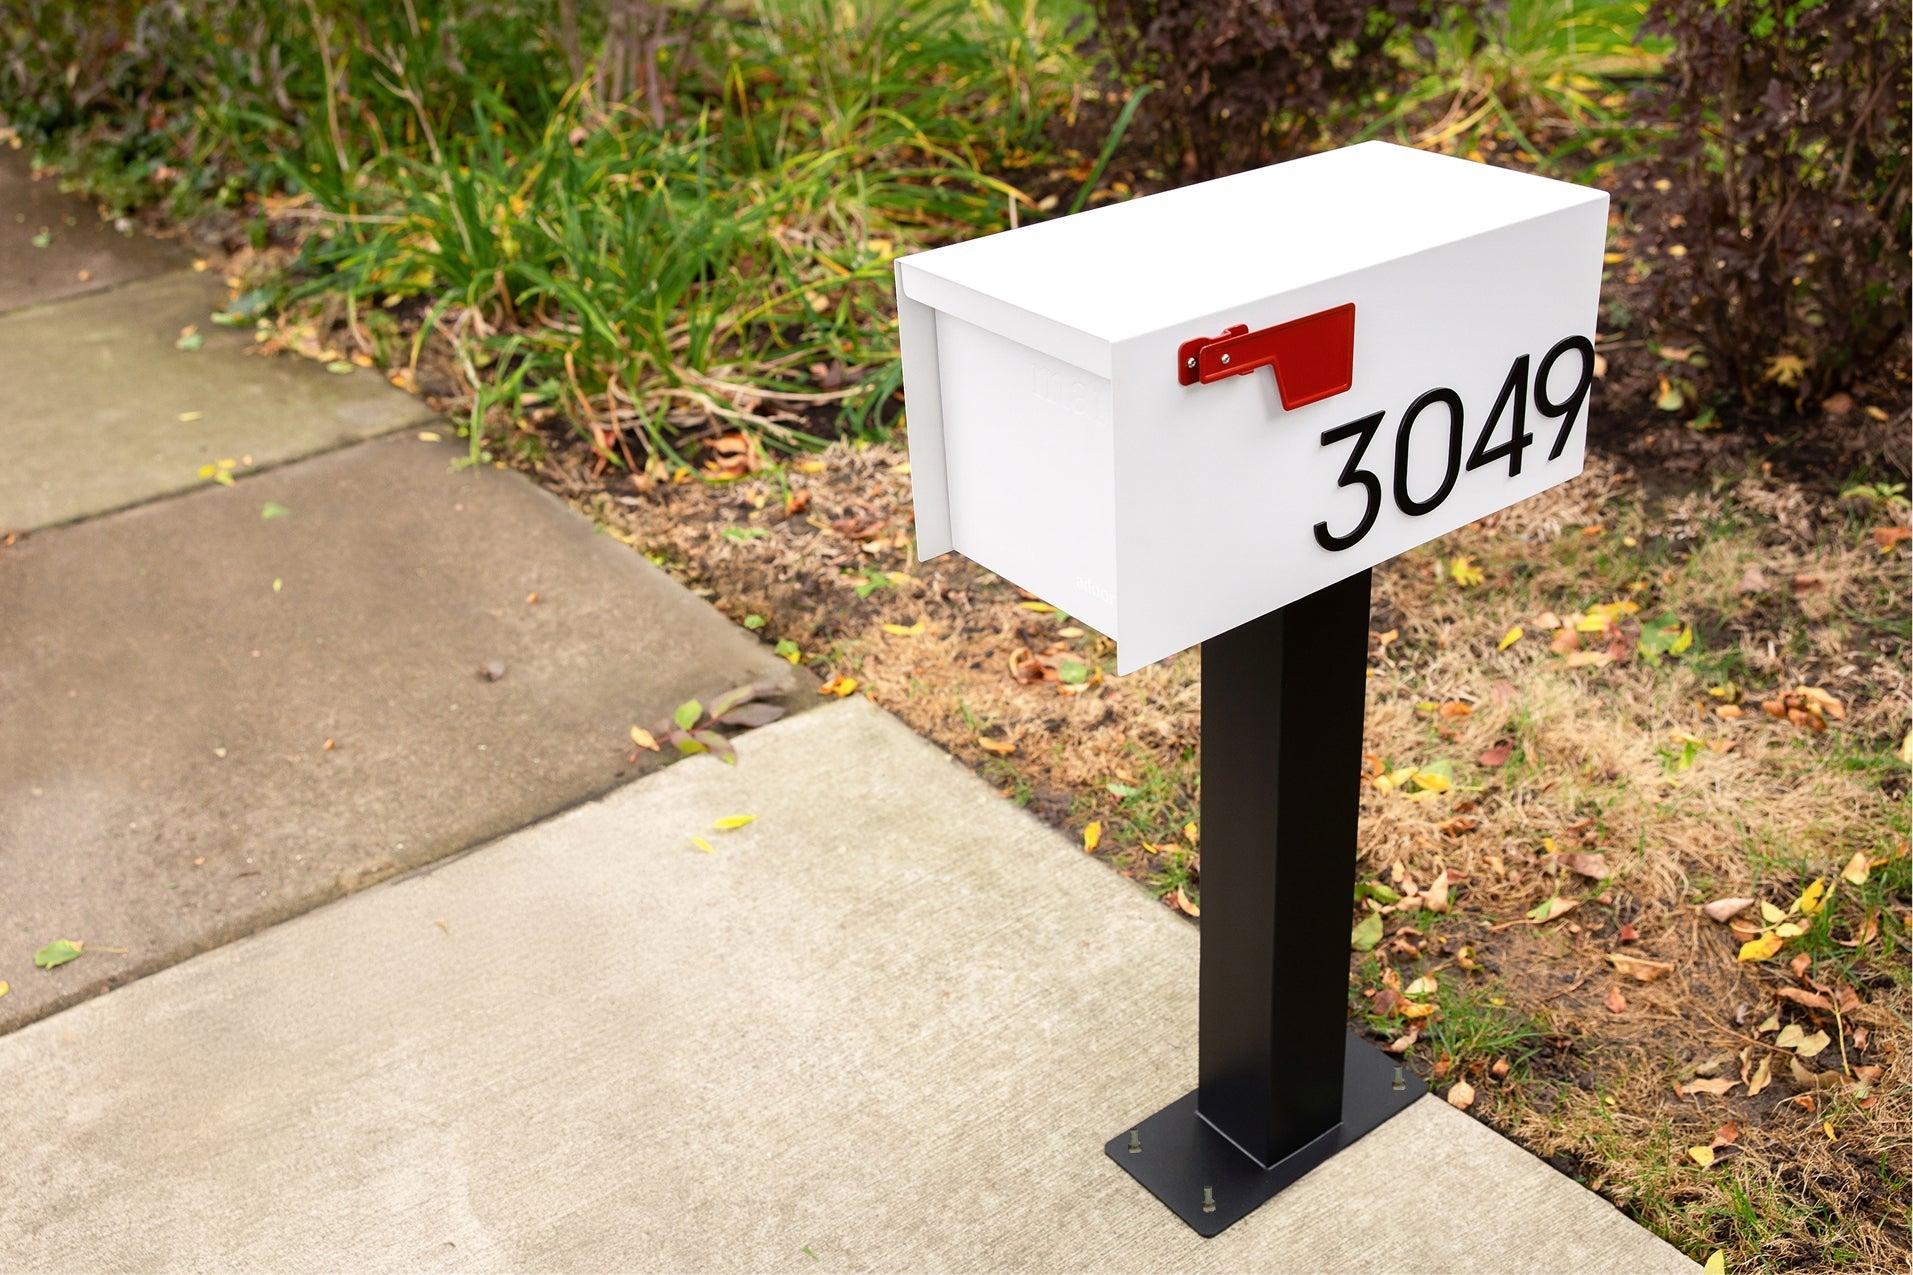
USPS placement rules still apply. The mailbox face needs to sit 41 to 45 inches above the road surface and 6 to 8 inches from the curb. The middle of the post should sit 16 to 18 inches from the edge of the curb or road. Plan the post location with those numbers in mind before you drill.
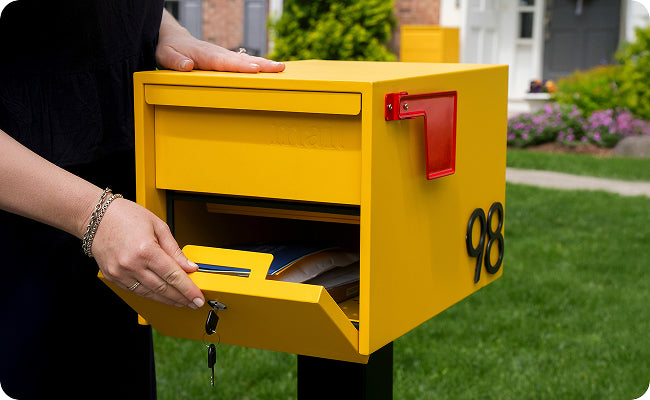
For non-locking mailboxes, measure the inside surface of the mailbox where the mail rests. For locking mailboxes, measure the lowest edge of the mail entry point.
📐 Dimensions and Mounting Layout
Use the spec diagram below for layout planning. The base plate is 12 by 6 inches with four anchor-bolt holes for ground attachment, and four 4-inch interior mounting holes for the mailbox attachment up top.
🛠️ Installation Steps
Step 1: Mark the location. Confirm the mounting surface is level. Measure 16 to 18 inches from the curb or street edge and mark the center point of the post. Position the post parallel to the curb or road and mark the four bolt-hole locations on the surface with a pencil or marker.
Step 2: Drill the anchor holes. Wrap a piece of tape 2.5 inches from the tip of your masonry bit as a depth guide. Do not drill deeper than 2.5 inches, or the wedge anchor bolts will go too deep and won't tighten against the washers. Drill the four anchor holes, keeping the drill plumb and level, then clear away any dust or debris.
Step 3: Set the wedge anchors. The wedge anchor bolts come pre-assembled. Remove the washers and nuts from each bolt, then place the M10 wedge anchor bolts into the drilled anchor holes. Gently hammer each one in, leaving the threaded portion exposed. Turn the nuts 3 to 5 revolutions until the anchor expands and feels firmly set in the surface.

Step 4: Place the post over the anchors. Align the Surface Mount Post over the four exposed anchor bolts and lower it down flat to the ground. Slide a gasket washer onto each exposed bolt, then thread the nut on top. Tighten in a cross pattern, starting with two opposite corners, then the other two. This keeps the base flat against the surface.
Step 5: Confirm level and stability. Re-check the post with your level. Push gently against the post to confirm there's no movement. If it leans, loosen the high side, slip a thin metal washer under the base plate as a shim, and re-tighten.
Step 6: Mount the mailbox. Once the post is solid, follow the install instructions included with your mailbox to attach it to the top mounting plate.

✨ Care and Maintenance
The Surface Mount Post is built to live outside, but a quick seasonal pass keeps everything tight and looking sharp.
-
Re-tighten: Re-snug the four anchor nuts after the first week and once each season after. Surfaces settle and nuts can loosen slightly with thermal cycling.
-
Clean: Mild soap and water. Skip abrasive pads and harsh solvents.
-
Preserve the finish: Apply a clear car wax to the powder-coated steel as needed to protect against UV and weather.
-
Touch up damage: If the finish is scratched and bare metal becomes visible, apply a protective paint (such as Rust-Oleum®) promptly to prevent rust.
✅ Final Checks
-
Mailbox face is 41 to 45 inches above the road surface.
-
Mailbox face is 6 to 8 inches from the curb.
-
Middle of the post is 16 to 18 inches from the curb or road edge.
-
The mailbox door opens cleanly with no obstruction.
-
The post is plumb on both axes.
-
No anchor nuts are loose. Re-tighten after a week of use.
-
Address numbers are clearly labeled.
❓ Frequently Asked Questions
How long does the install take?
Most homeowners finish in 30 to 45 minutes. Plan for longer if you're drilling into thick concrete or shimming a slightly uneven surface.
Will USPS deliver to a Surface Mount Post installation?
Yes, as long as the mailbox meets USPS height (41 to 45 inches above the road) and setback (6 to 8 inches from the curb). The Surface Mount Post is the same finished height as the In-Ground Post, so the geometry works out the same.
Can I move the post later?
Yes. Loosen the anchor nuts, lift the post off the bolts, and re-install at a new location. The old anchors can be cut flush and patched with concrete filler if needed.
What if the surface is slightly uneven?
Up to about a quarter inch of variation can be corrected with washers under the base plate. Anything more than that means you should level the surface first.
Do I need to seal the bolt holes?
Not required, but a small bead of exterior-grade silicone around each anchor at the surface line helps keep moisture out of the hole, which is a nice habit on older concrete or porous masonry.
What if I drilled too deep?
If the anchor sinks too far in, the wedge can't tighten against the washer and the post won't lock down. Mark your bit with tape at 2.5 inches before you start. If you already over-drilled, you can fill the bottom of the hole with concrete patch and re-drill to the correct depth once cured.
📌 Quick Reference
-
Confirm the surface is hard, level, and at least 4 inches thick. Call 811 first.
-
Mark the center 16 to 18 inches from the curb, position post parallel to road, mark the four anchor-bolt holes.
-
Drill four holes — no deeper than 2.5 inches. Hammer wedge anchors in, turn the nuts 3 to 5 revolutions to expand.
-
Place the post over the exposed anchors, add washers and nuts, tighten in a cross pattern.
-
Mount the mailbox, confirm USPS height and setback, then re-tighten in a week.
Related Adoorn Guides
- How To Install Your New 51" In-Ground Post Mount
- How To Install Your New Surface Mount Plate
- How To Install Your New Non-Locking Post Mount Mailbox
- How To Install Your New Locking Post Mount Mailbox
🛒 Pair with the Right Mailbox
-
Post Mount Mailbox for the standard non-locking curbside setup.
-
Locking Post Mount Mailbox for theft-prone neighborhoods.
Bundle savings:
Pairing a mailbox with a post and accessories typically lands you in Adoorn's bundled pricing, with savings of more than 50% off in some configurations.