
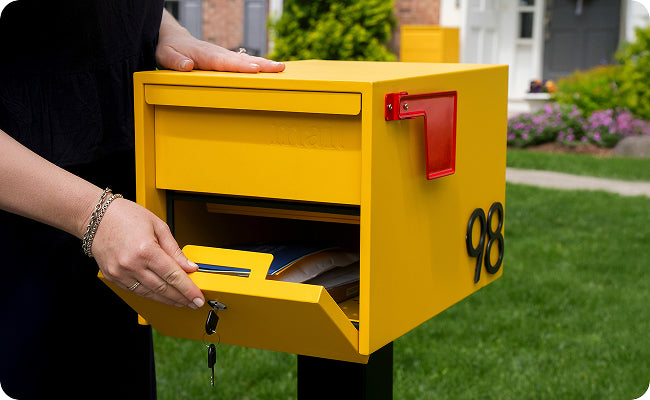
Clean lines start with the details. Your new Adoorn 4" Mailbox Address Numbers are designed to give your mailbox a sharp, visible address marker that holds up to the elements. Industrial-grade self-adhesive means no drilling, no hardware, no fuss. Just clean, measure, stick.
This guide walks you through the full install, pulled directly from the instructions included with your numbers and expanded with extra detail so nothing gets missed.

Looking for 6" House Numbers instructions? Click here!
📦 Before You Begin: What's Included
Each Adoorn 4" Mailbox Address Number ships ready to install with no additional hardware required.
-
Premium aluminum number with protective finish (never rusts)
-
Industrial-grade self-adhesive backing (pre-applied)
That's it. No screws, no anchors, no drill bits to sort through. The adhesive is built to hold in rain, sun, heat, and cold.

🧹 Step 1: Clean the Surface
Adhesive only works as well as the surface it's bonding to. Take a minute here and your numbers will hold for years.
-
Wipe the area with soap and warm water. You're removing dust, dirt, oil, and any residue that could weaken the bond. If your mailbox has been outside for a while, give it a thorough wipe down.
-
Let the surface dry completely. This is the step people rush. Moisture trapped under the adhesive will weaken it over time. Give it a few minutes in the open air, or use a clean dry cloth to speed things up.
(Pro tip: If you're applying to a freshly painted or powder-coated surface, make sure the finish has fully cured before sticking anything to it. Most coatings need at least 48 hours.)
📐 Step 2: Measure and Mark
Placement makes or breaks the look. Take your time here.
-
Determine your layout: horizontal (side by side) or vertical (stacked). Either works. Choose based on the shape of your mailbox and what reads best from the street.
-
Arrange the numbers on the surface before peeling anything. Use a level or ruler to ensure straightness and even spacing between each number.
-
Mark your positions with painter's tape. Place a small strip of tape at the top or bottom edge of each number to hold your layout in place. This gives you a guide to follow when you peel and stick.
Spacing rule: Keep .5" to .75" between each number, measured edge to edge. The key is consistency. If you're at .5" between the first two, stay at .5" for the rest.
(Pro tip: Step back and look at your layout from across the street before committing. Your numbers should be visible and legible from 50+ feet. If the spacing feels tight or uneven from a distance, adjust now.)
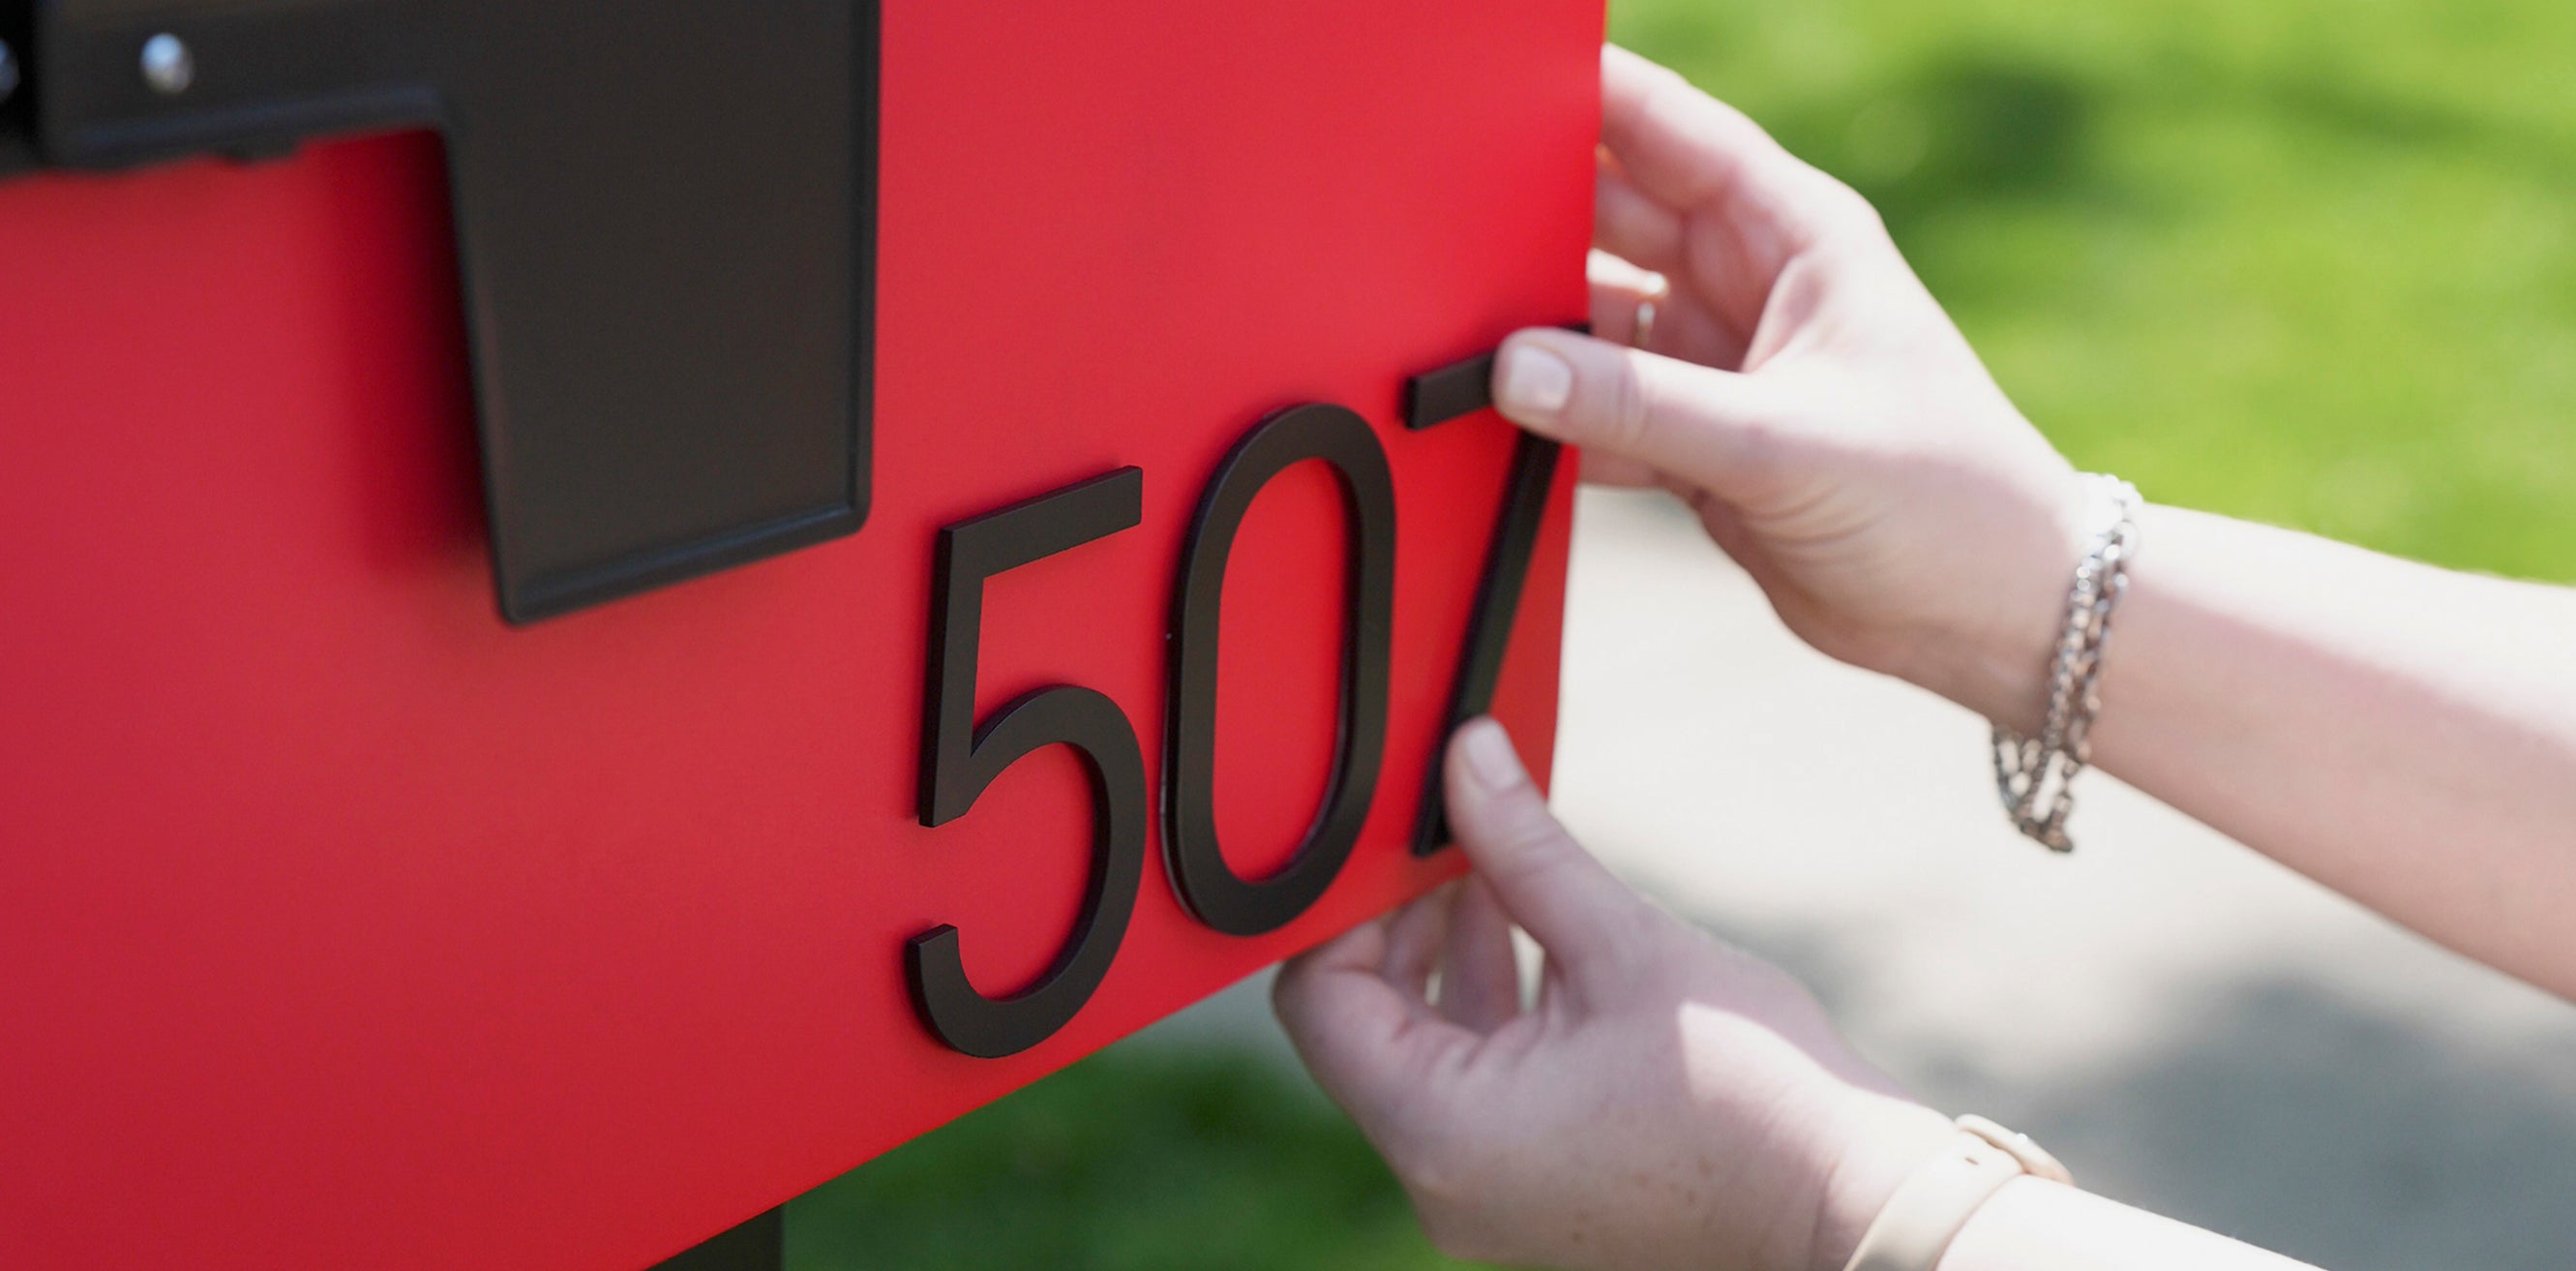
✋ Step 3: Peel and Press
This is the moment. One number at a time, clean and deliberate.
-
Gently peel the adhesive backing from the first number. Avoid touching the adhesive surface with your fingers, as oils from your skin can reduce bond strength.
-
Carefully place the number onto the surface, using your painter's tape marks as your guide. Once the adhesive makes contact, repositioning is difficult, so take your time lining it up.
-
Press firmly across the entire surface for 30 seconds. Apply even pressure from the center outward to push out any air pockets and ensure full contact with the surface.
-
Repeat for each number, following your tape marks and maintaining consistent spacing.
(Pro tip: If you're applying in cold weather, warm the adhesive and the surface slightly with a hair dryer before applying. Adhesive bonds best above 50° F / 13°C. Apply pressure again after 10 minutes for extra hold.)

✨ Care and Maintenance
Your Adoorn mailbox numbers are built from premium aluminum with a protective finish that resists rust and UV damage. Maintenance is minimal.
-
Clean: Mild soap and water. That's it.
-
Avoid abrasive cleaners or steel wool, which can scratch the protective finish.
-
If a number loosens over time: Clean the surface and the back of the number, let both dry, and reapply with a fresh strip of industrial adhesive tape (3M VHB or similar).
🔄 Need to Remove or Reposition?
If you ever need to remove a number or adjust its placement, the adhesive can be cleanly removed without damaging your mailbox.
-
Apply heat using a hair dryer on medium for 30–60 seconds to soften the adhesive.
-
Gently peel the number from one edge, working slowly to avoid bending.
-
Remove residue with rubbing alcohol or an adhesive remover like Goo Gone. Wipe clean with a dry cloth.
🎉 You're Done
Step back and take a look. Your mailbox now has a clean, modern address marker that's visible from the street and built to last through every season. No hardware, no holes, no fuss. Just a sharp, considered detail that says you care about the small moments.
That's the Adoorn way.

📌 Quick Reference
-
Tools needed: Soap and warm water, clean cloth, level or ruler, painter's tape, tape measure
-
No drill required: Industrial-grade self-adhesive backing (pre-applied)
-
Material: Premium aluminum with protective finish (never rusts)
-
Alignment: Horizontal (side by side) or vertical (stacked)
-
Visibility: Designed to be readable from 50+ feet
-
Spacing between numbers: .5–.75" (measure edge to edge, keep consistent)
-
Adhesive bond time: Press firmly for 30 seconds per number
-
Best application temp: Above 50° F / 13°C for strongest bond
-
Cleaning: Mild soap and water only